
Ceramic Fountain Tips
/
There are quite a few components to gather for the construction of a ceramic fountain with live plants! Here are a few of the tips that Joe Wilkinson and Deb schwartzkopf put together for his class at Rain City Clay!
Things to think about:
The fountain will splash a little. Think about how much water can be on the surface where the fountain sits.
Plants have special environmental needs. Consider their light, water, and space requirements.
Water flows in mysterious ways sometimes. Take time to chart the path of the water from the base, up through the fountain, and through the hole(s) of the fountain.
Materials for the Project
Start by finishing the container that will hold the fountain, pump, and water.
Then gather the substrate for the plants and the plants themselves. Here are a few that we used.
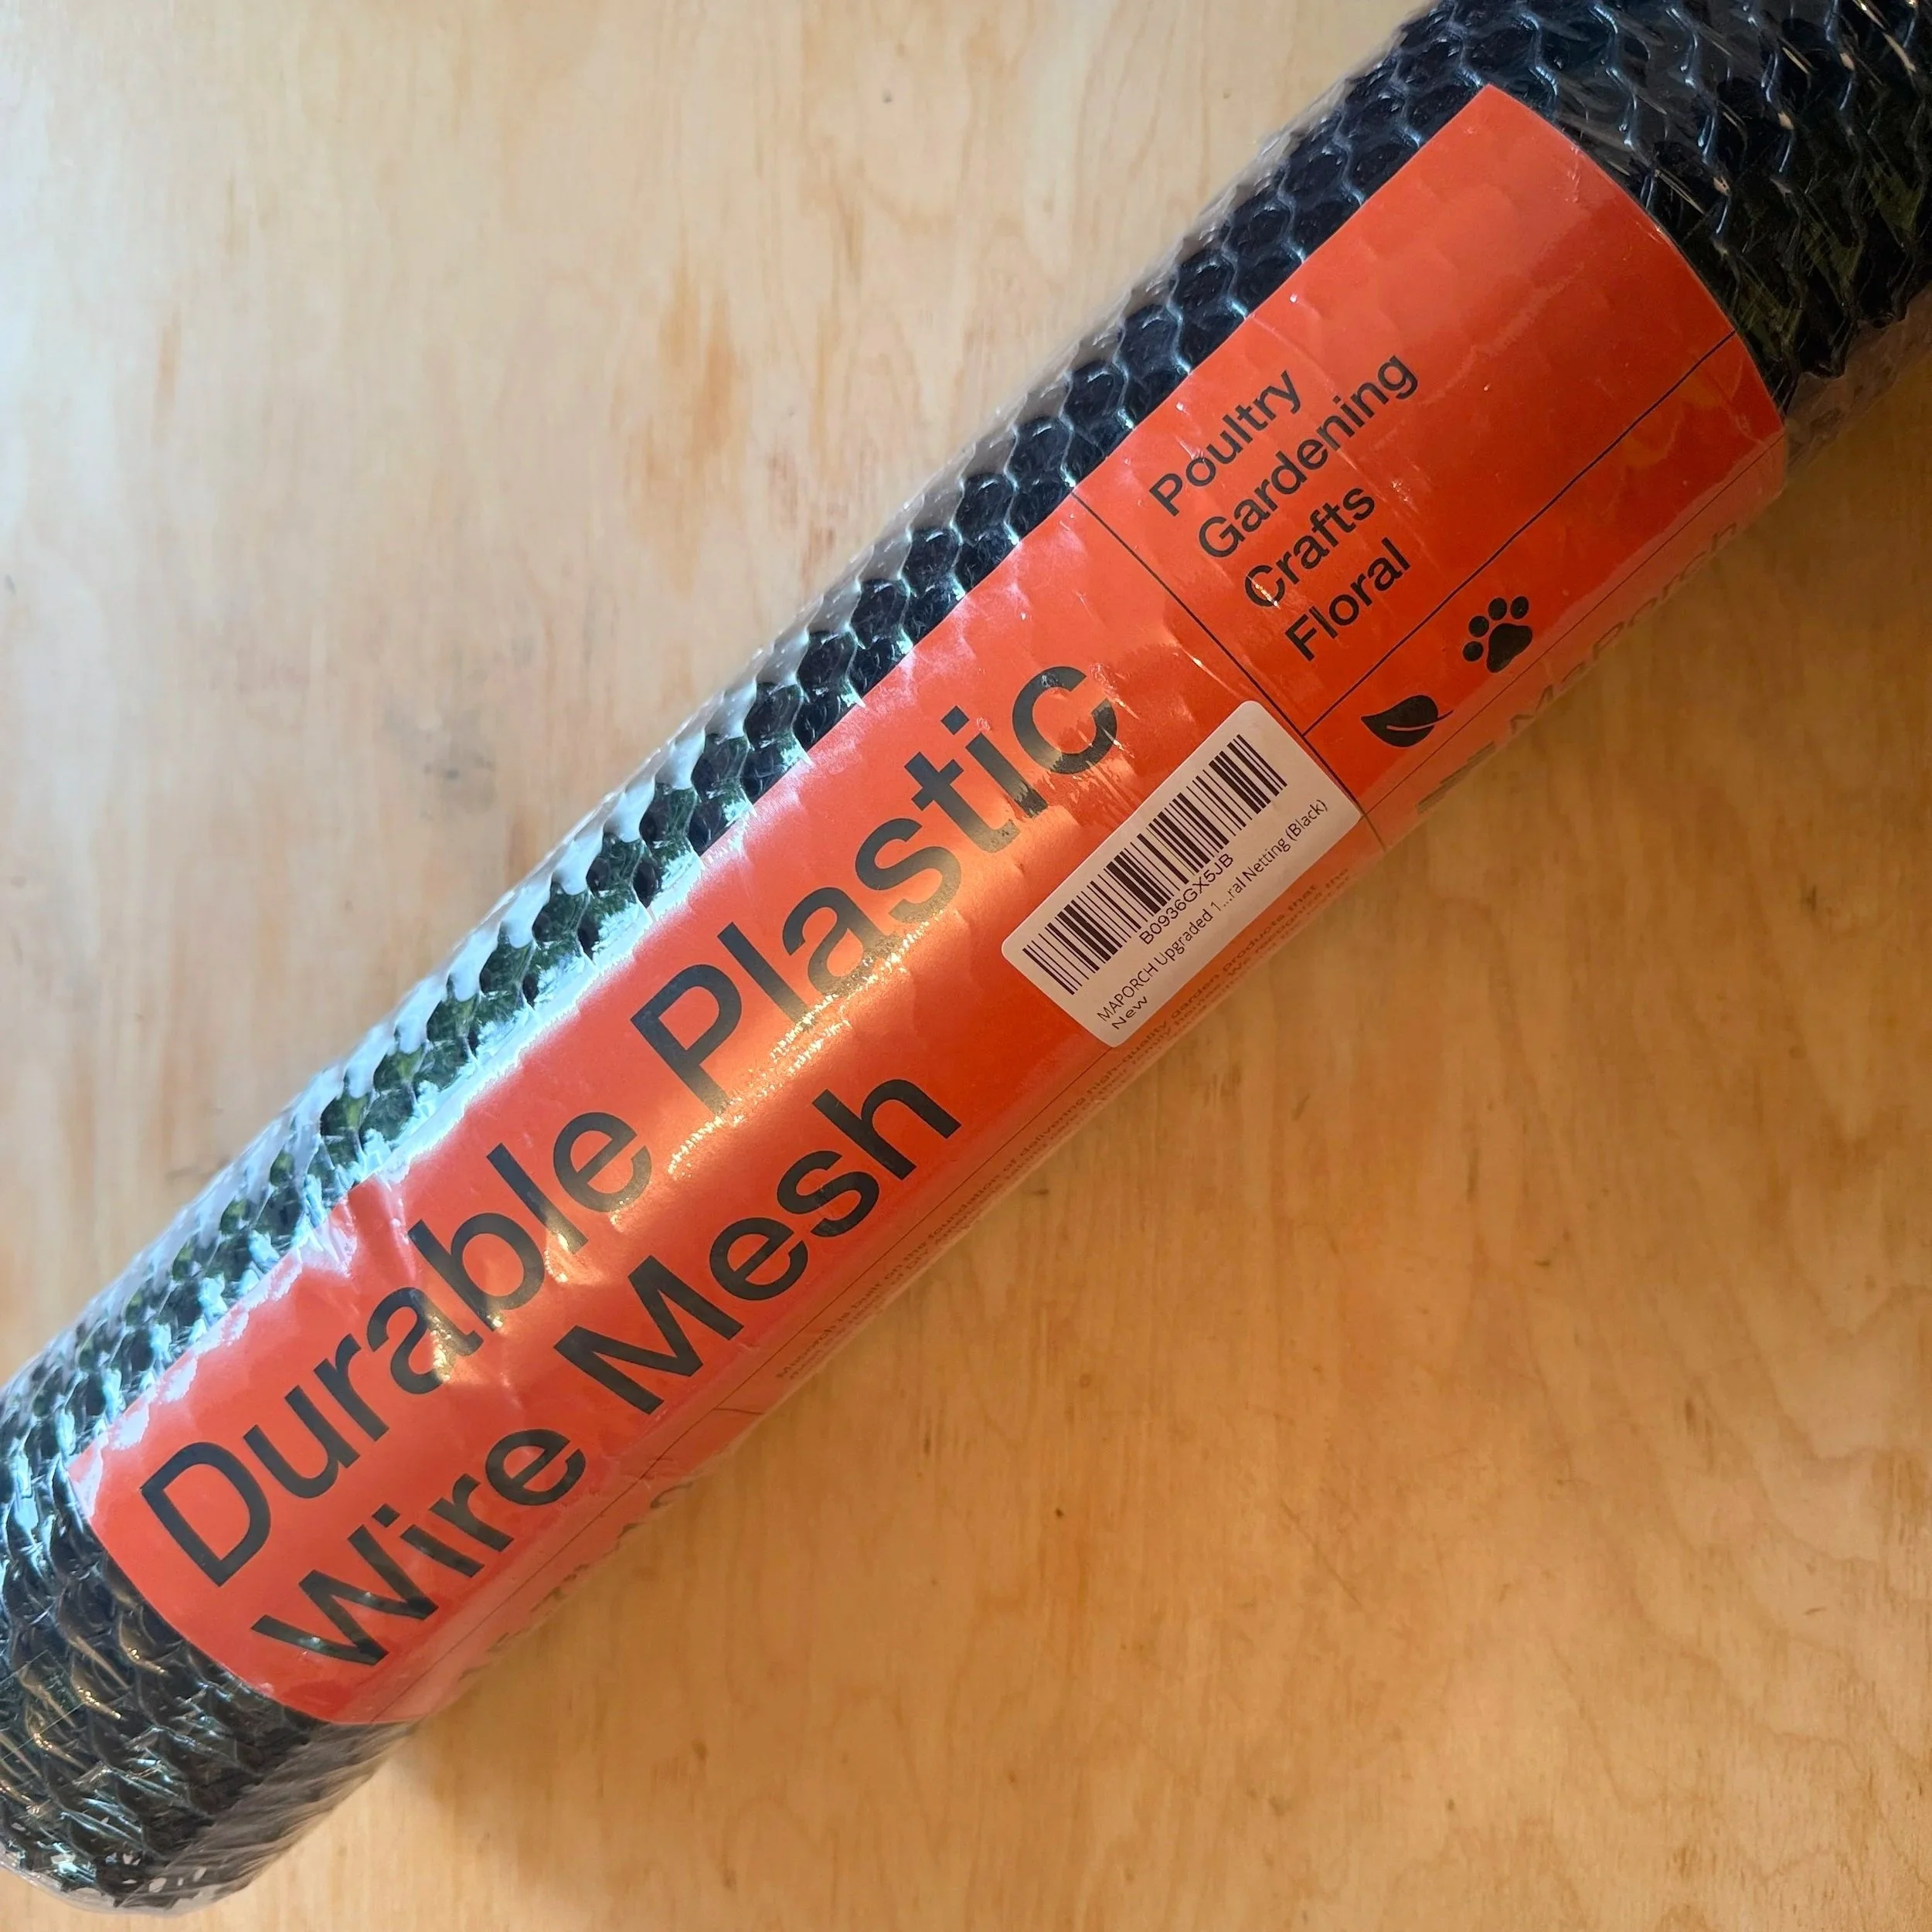
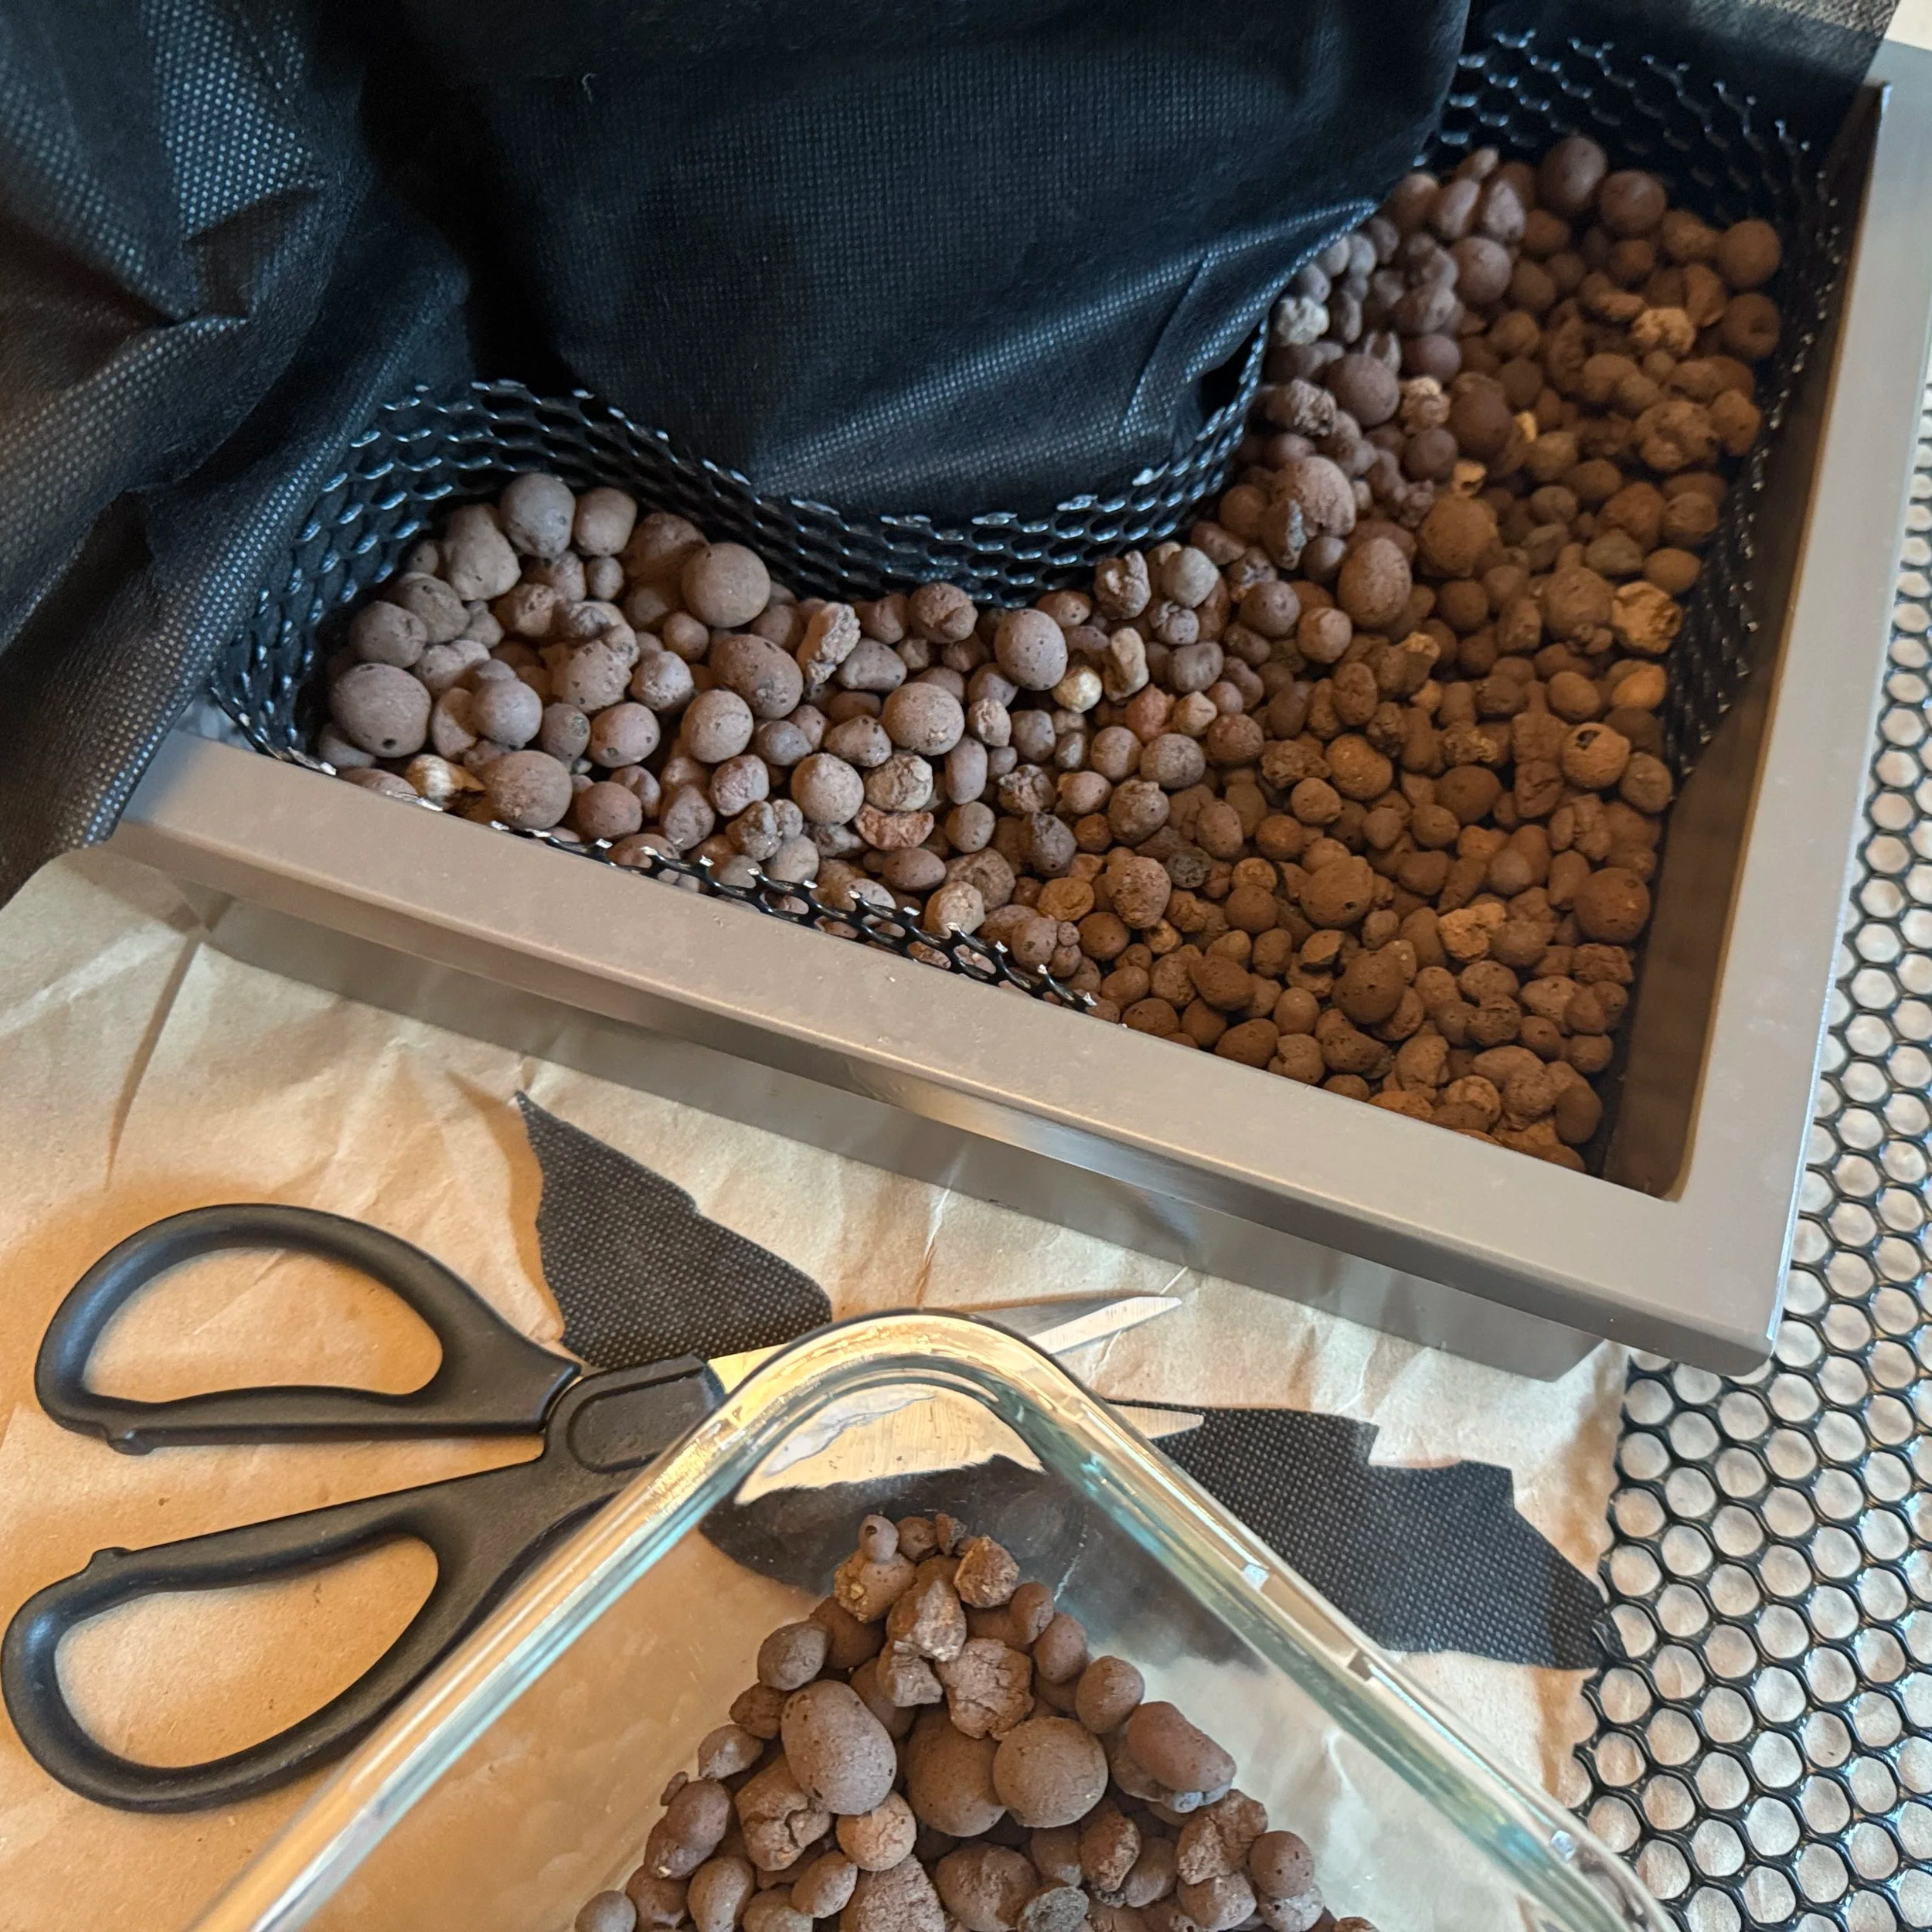
Firm plastic mesh that forms a water permeable fence around the pump and ceramic fountain element.
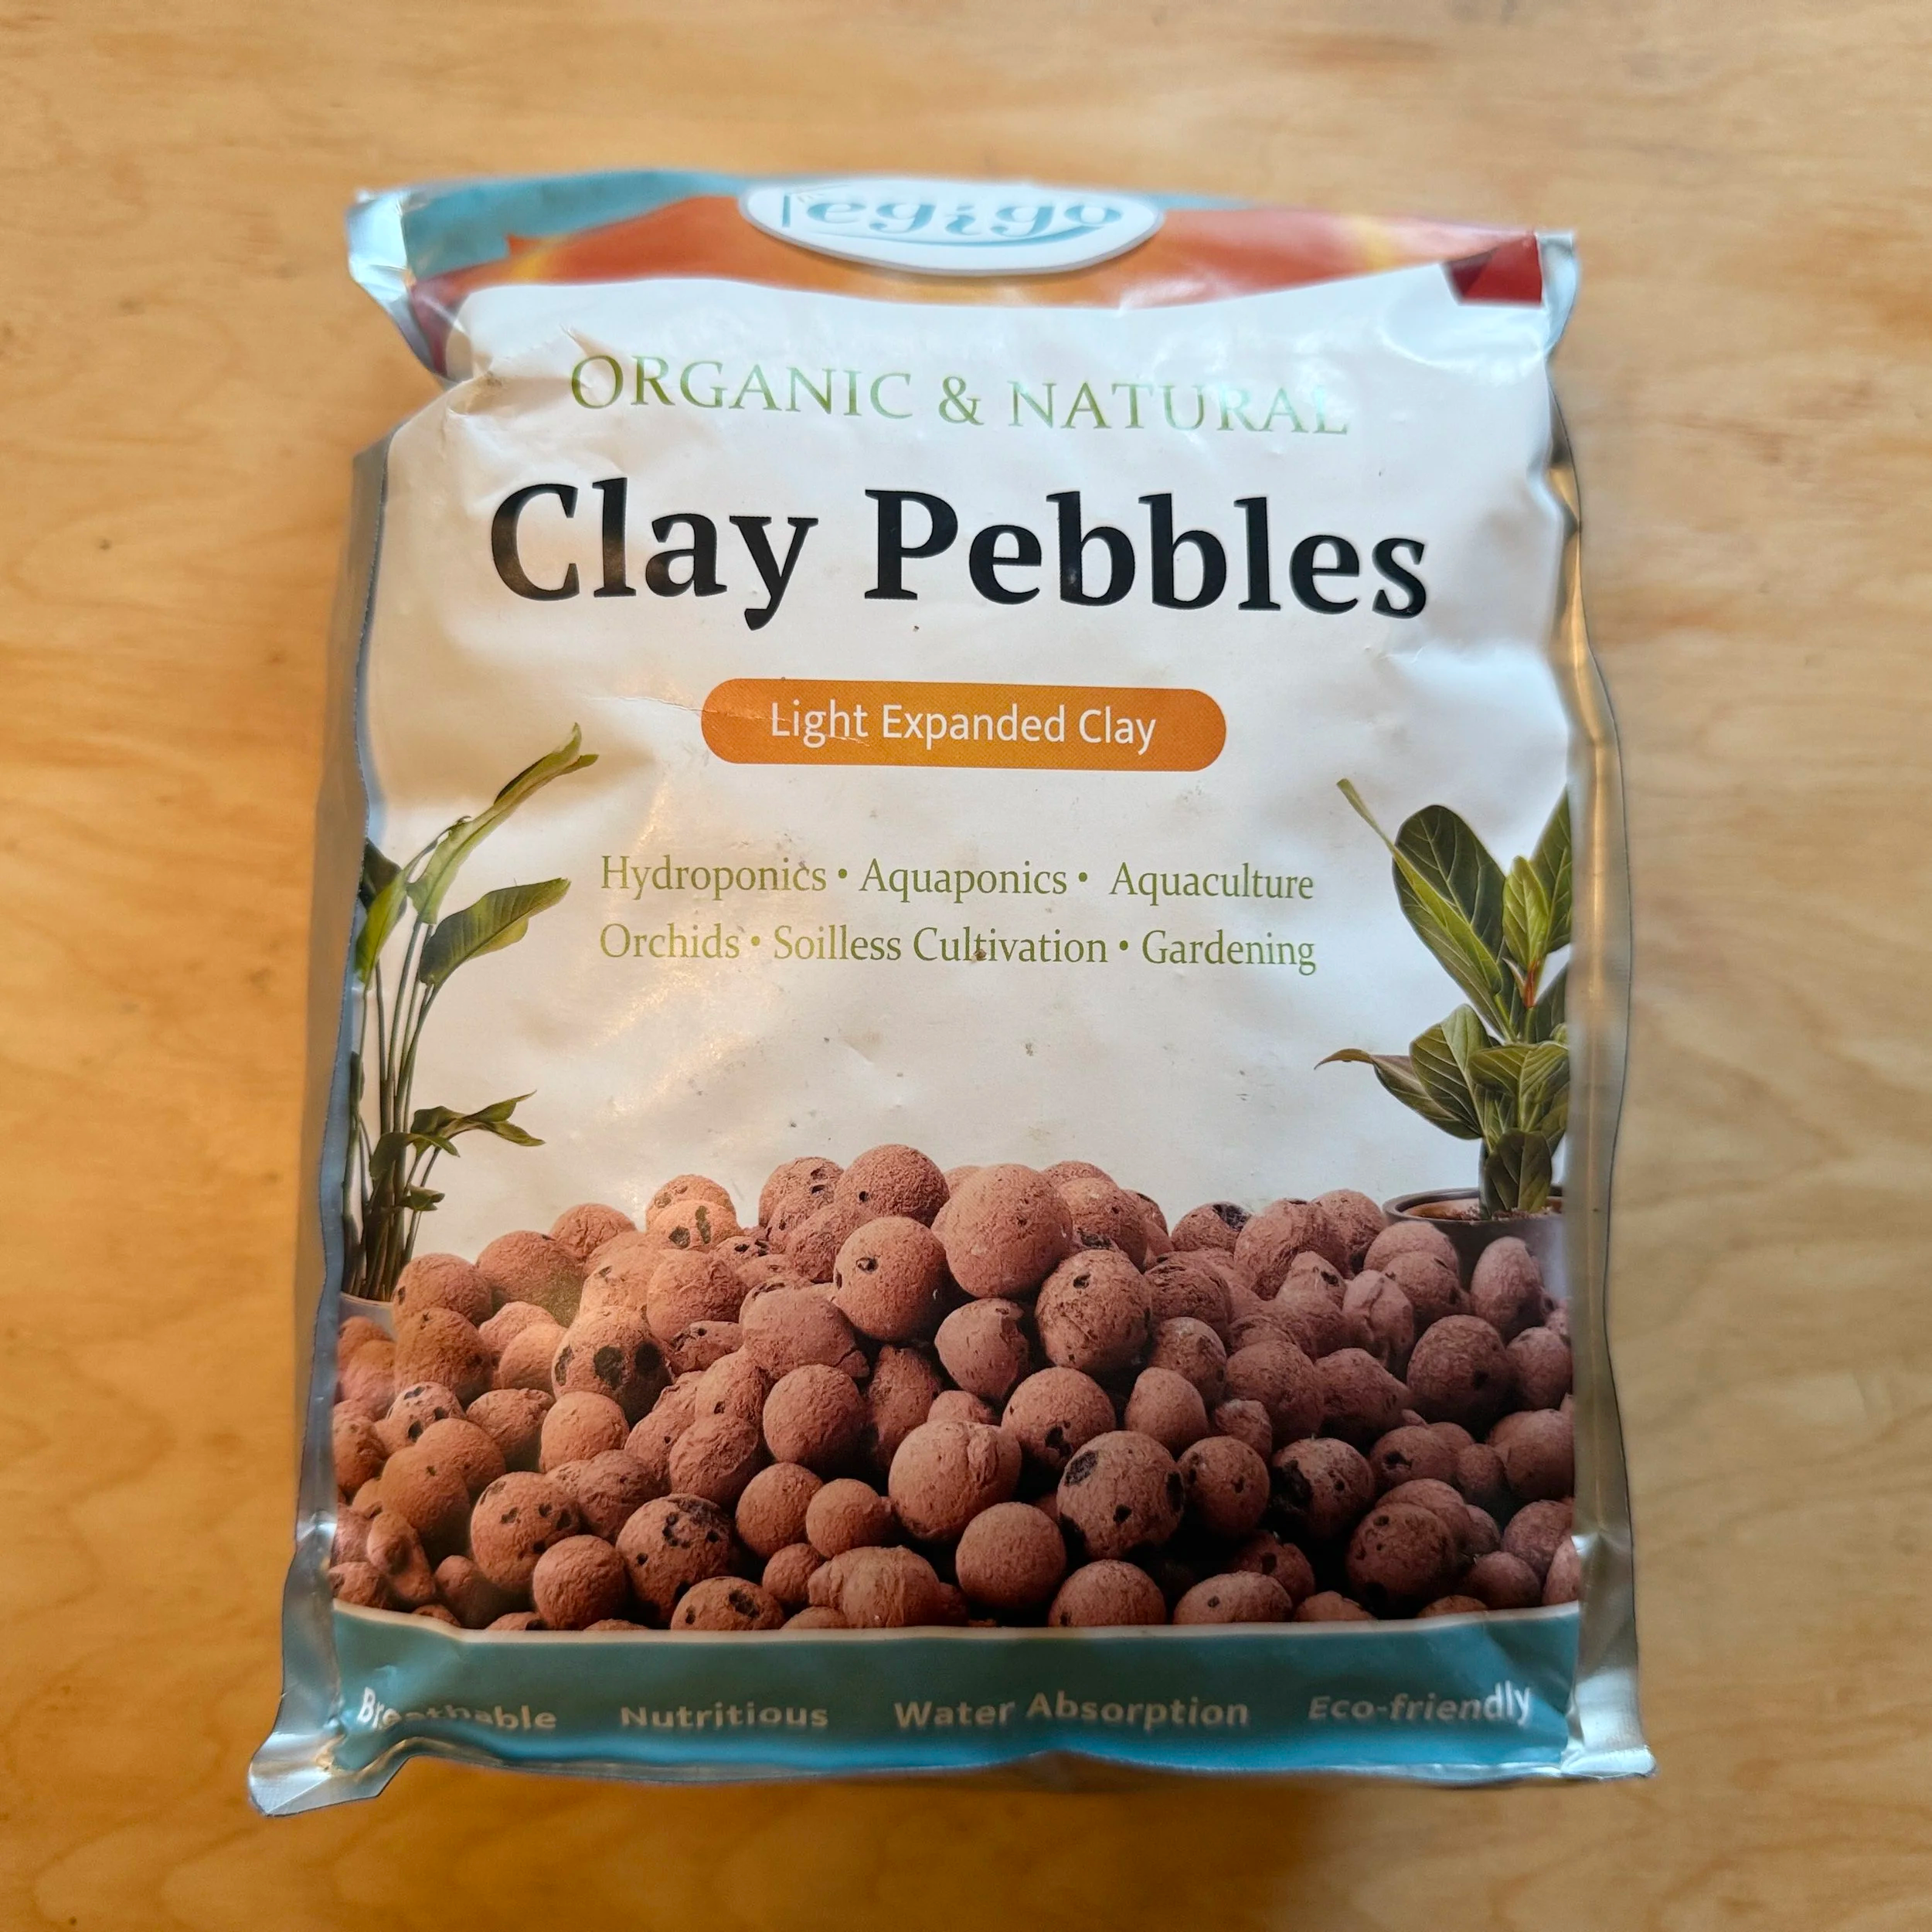
These are the first layer in the planting substrate system. These allow water to flow through them and add structure.
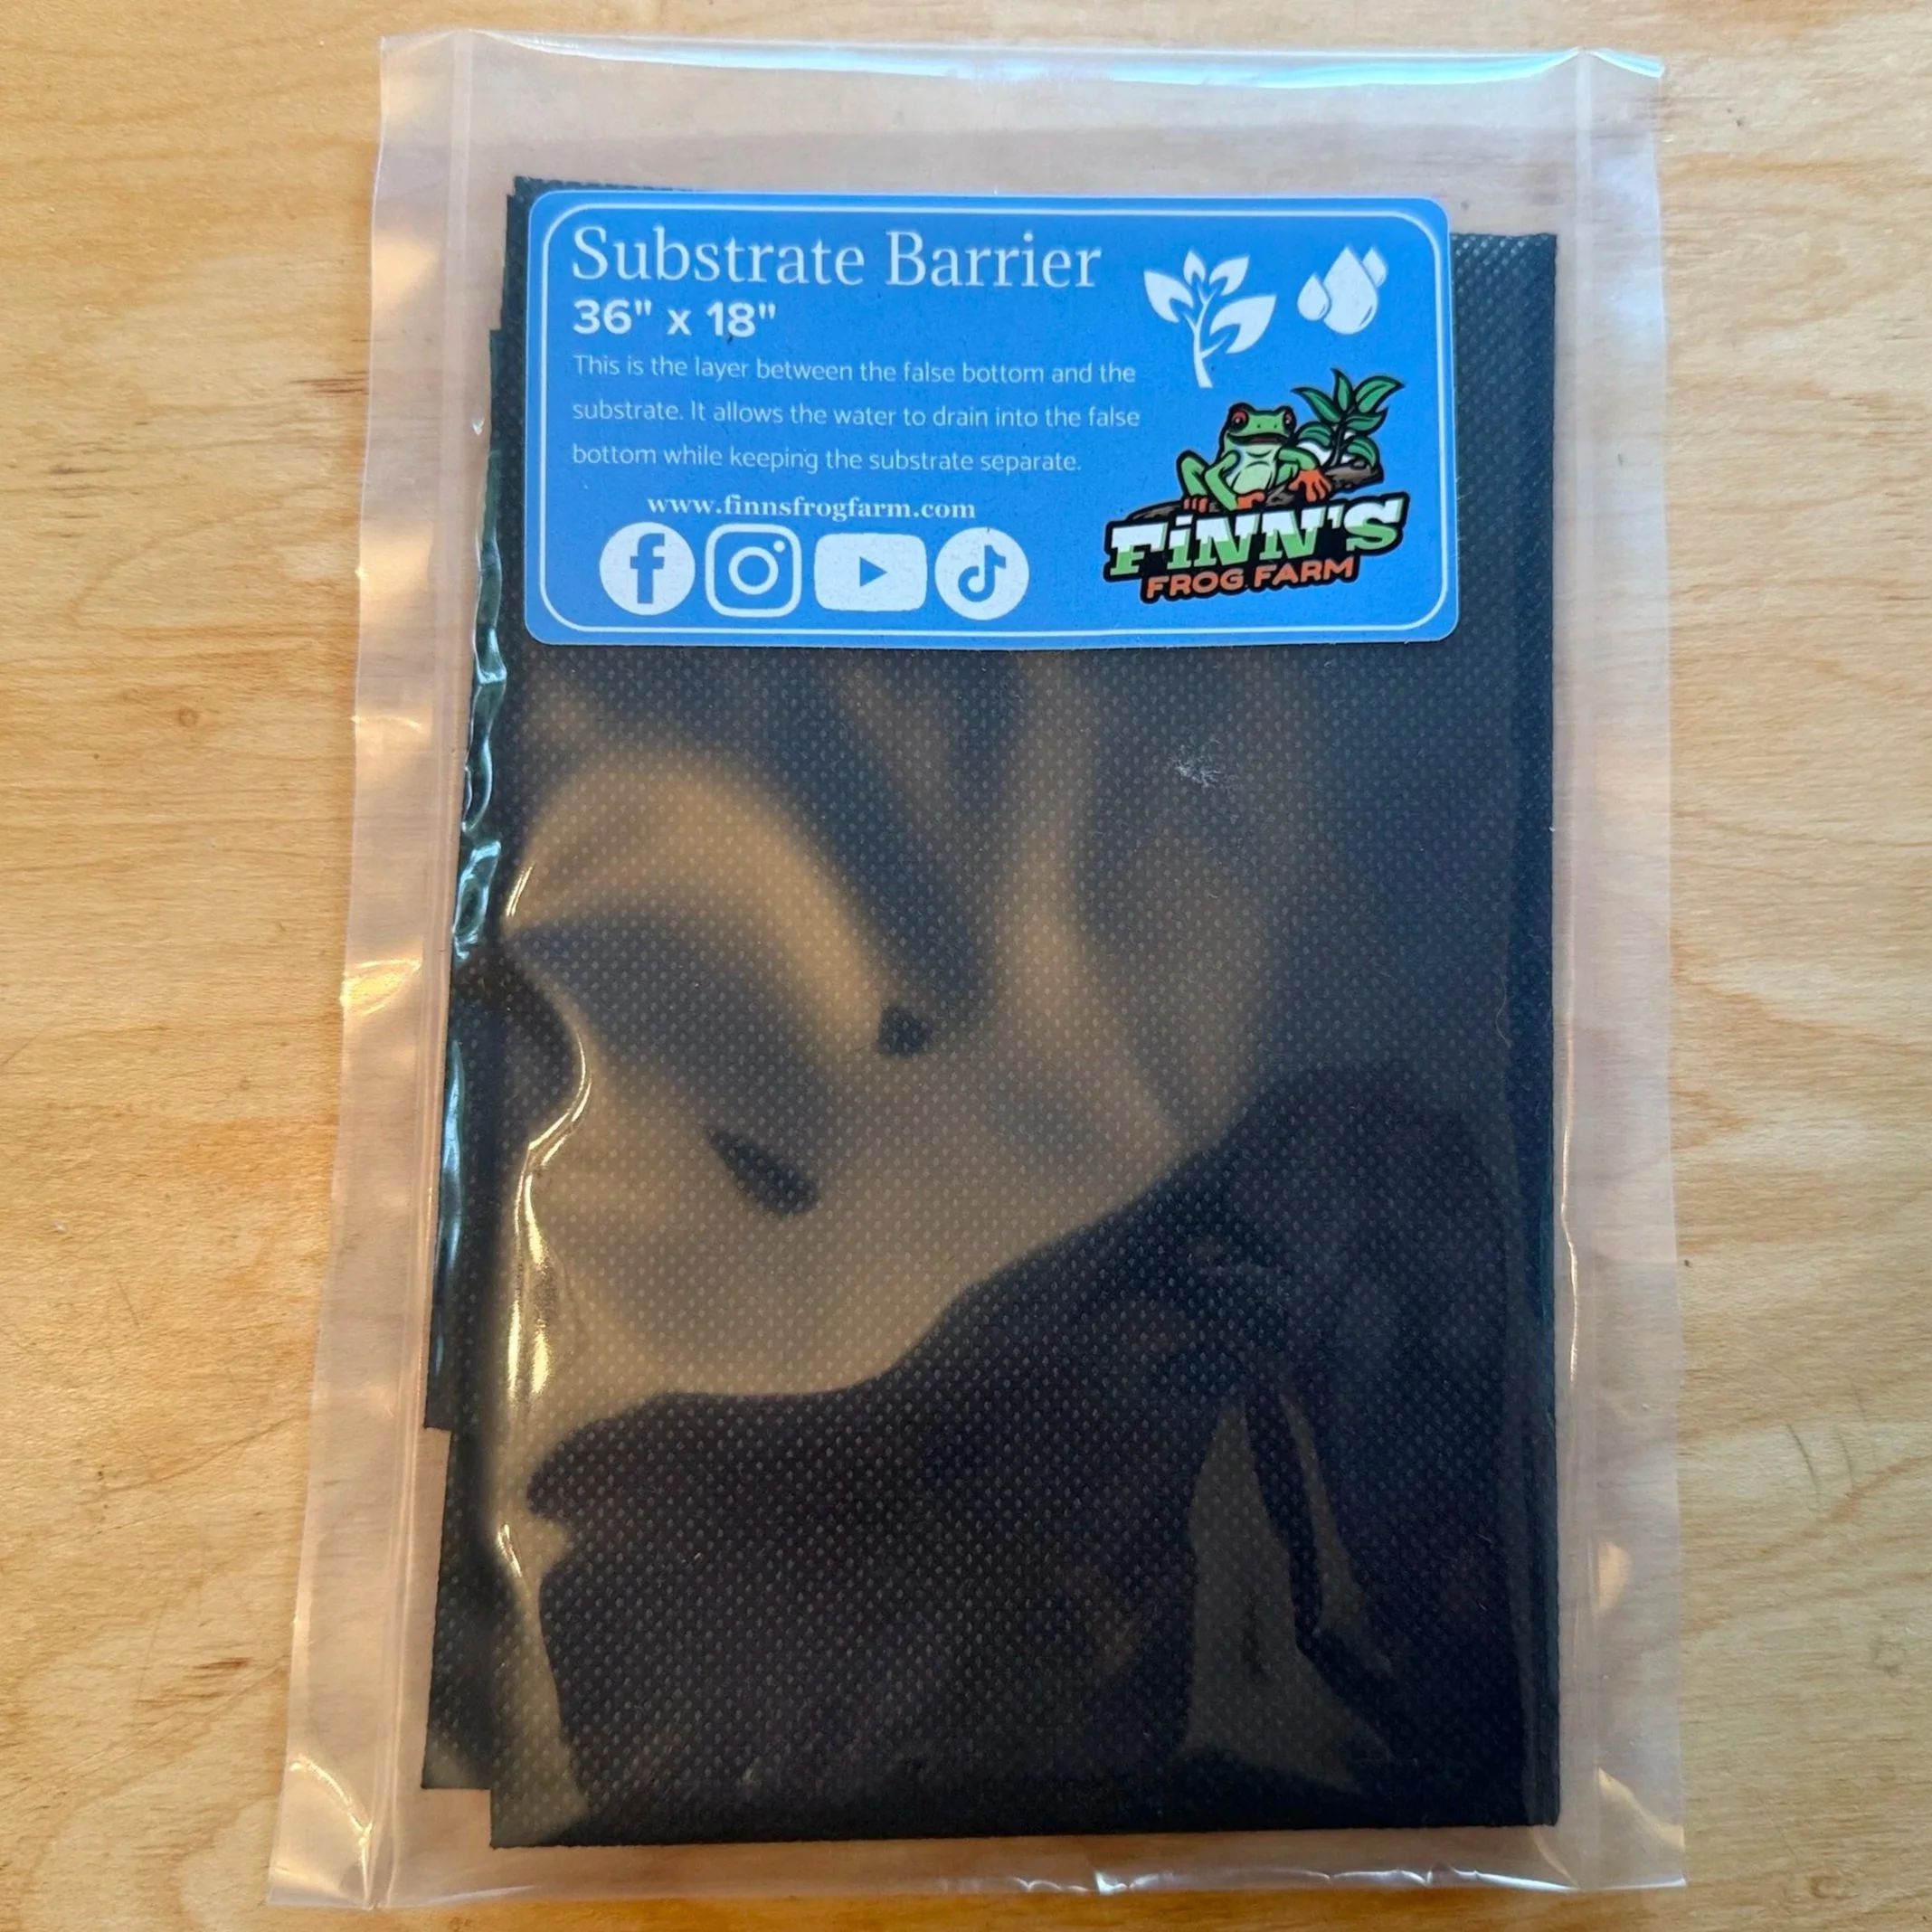
This is the 2nd layer and it helps keep small particles away from the water pump.
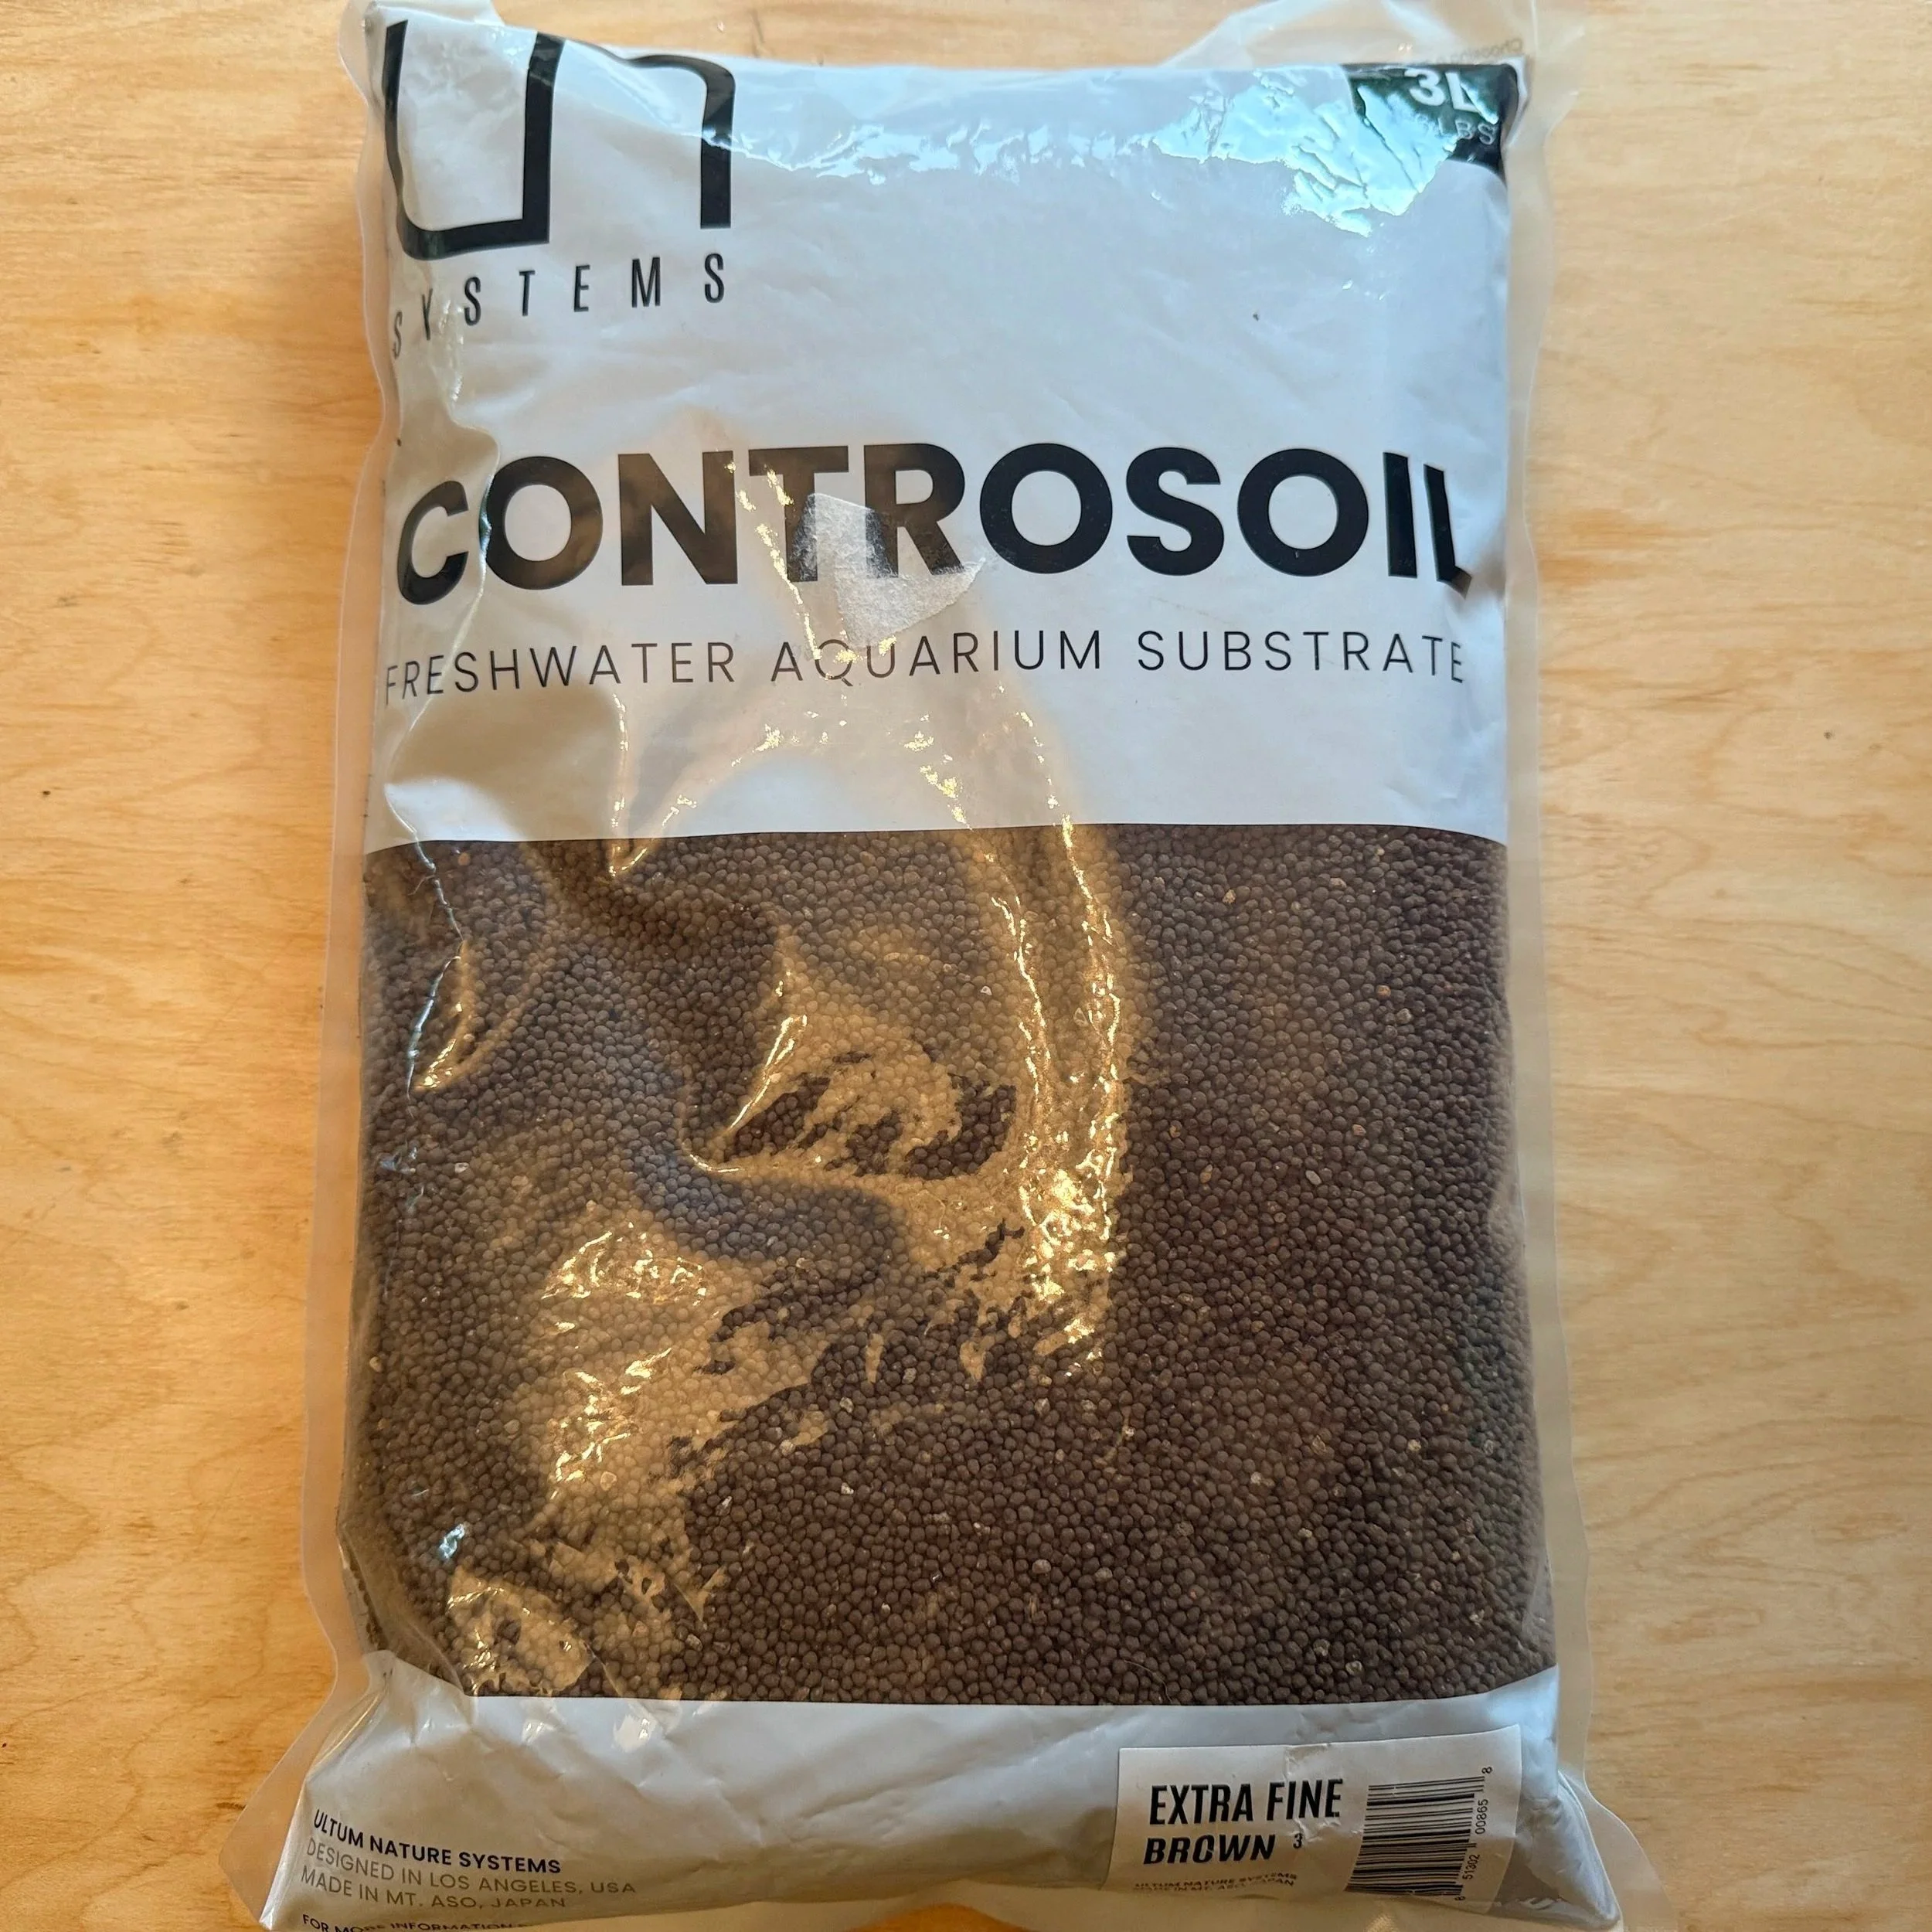
3rd layer, full of plant nutrients without creating fine particles that may clog the pump.
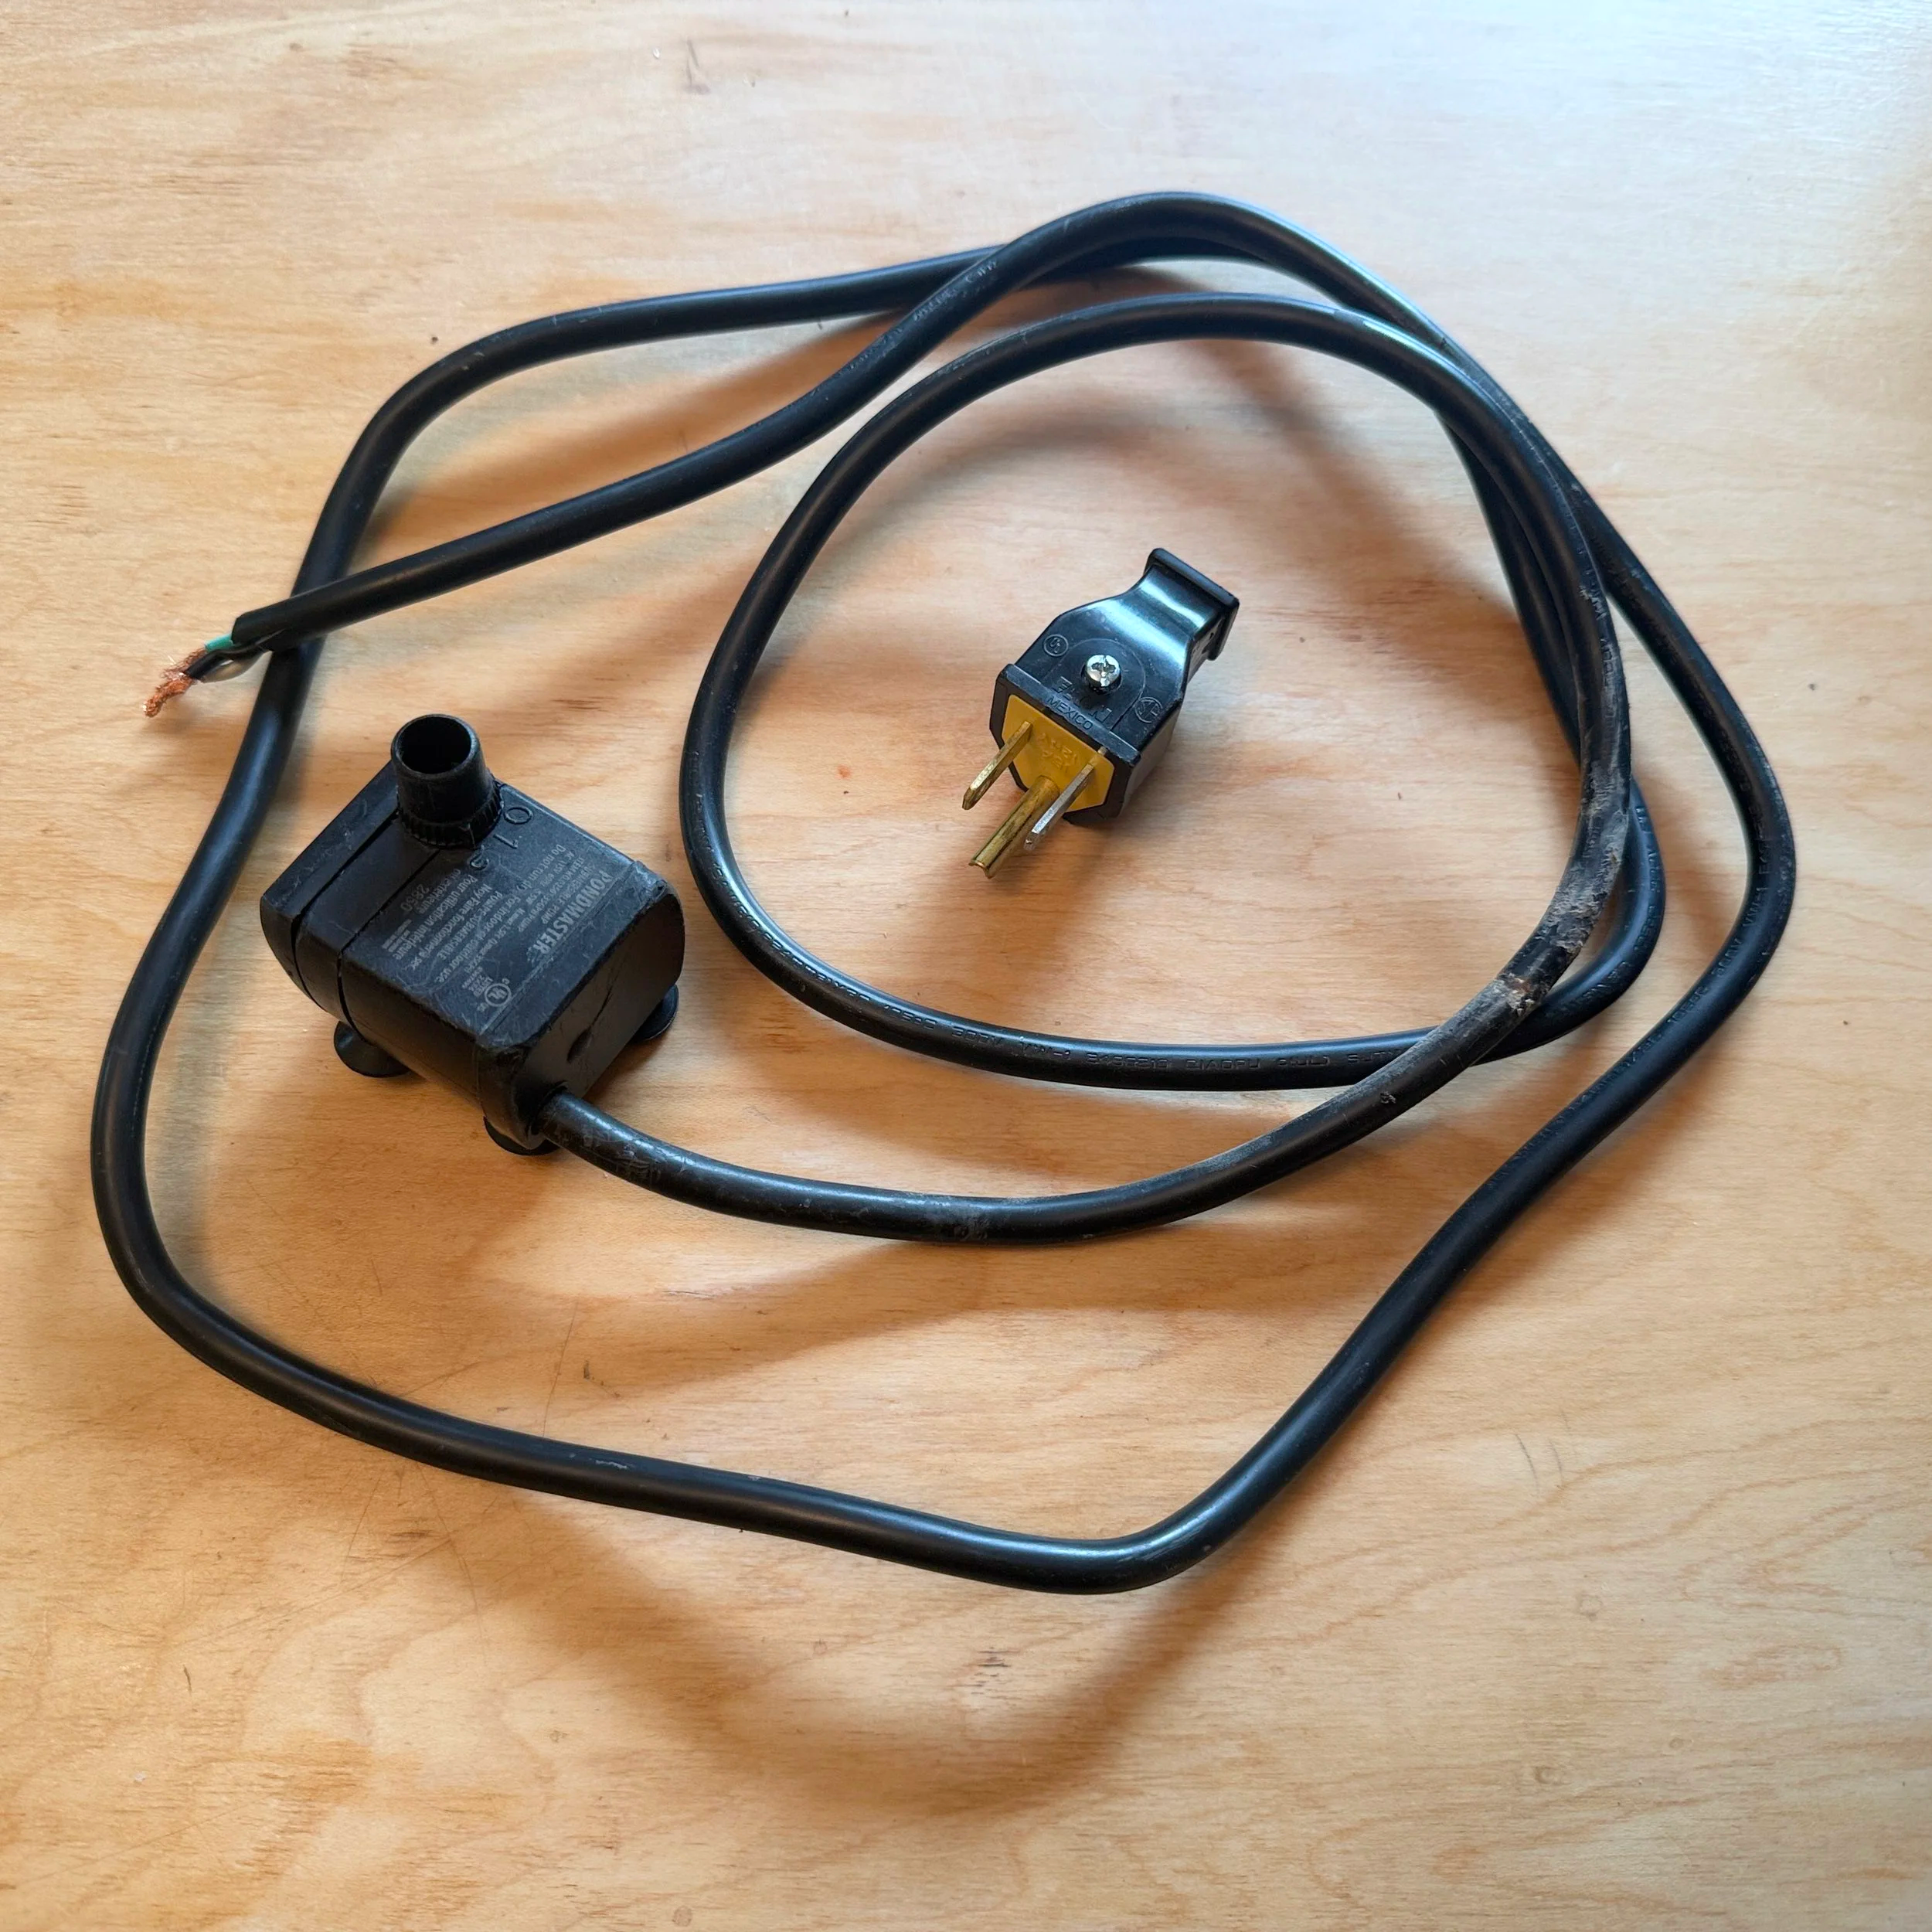
A water pump with a grounded plug + tools for attaching these together
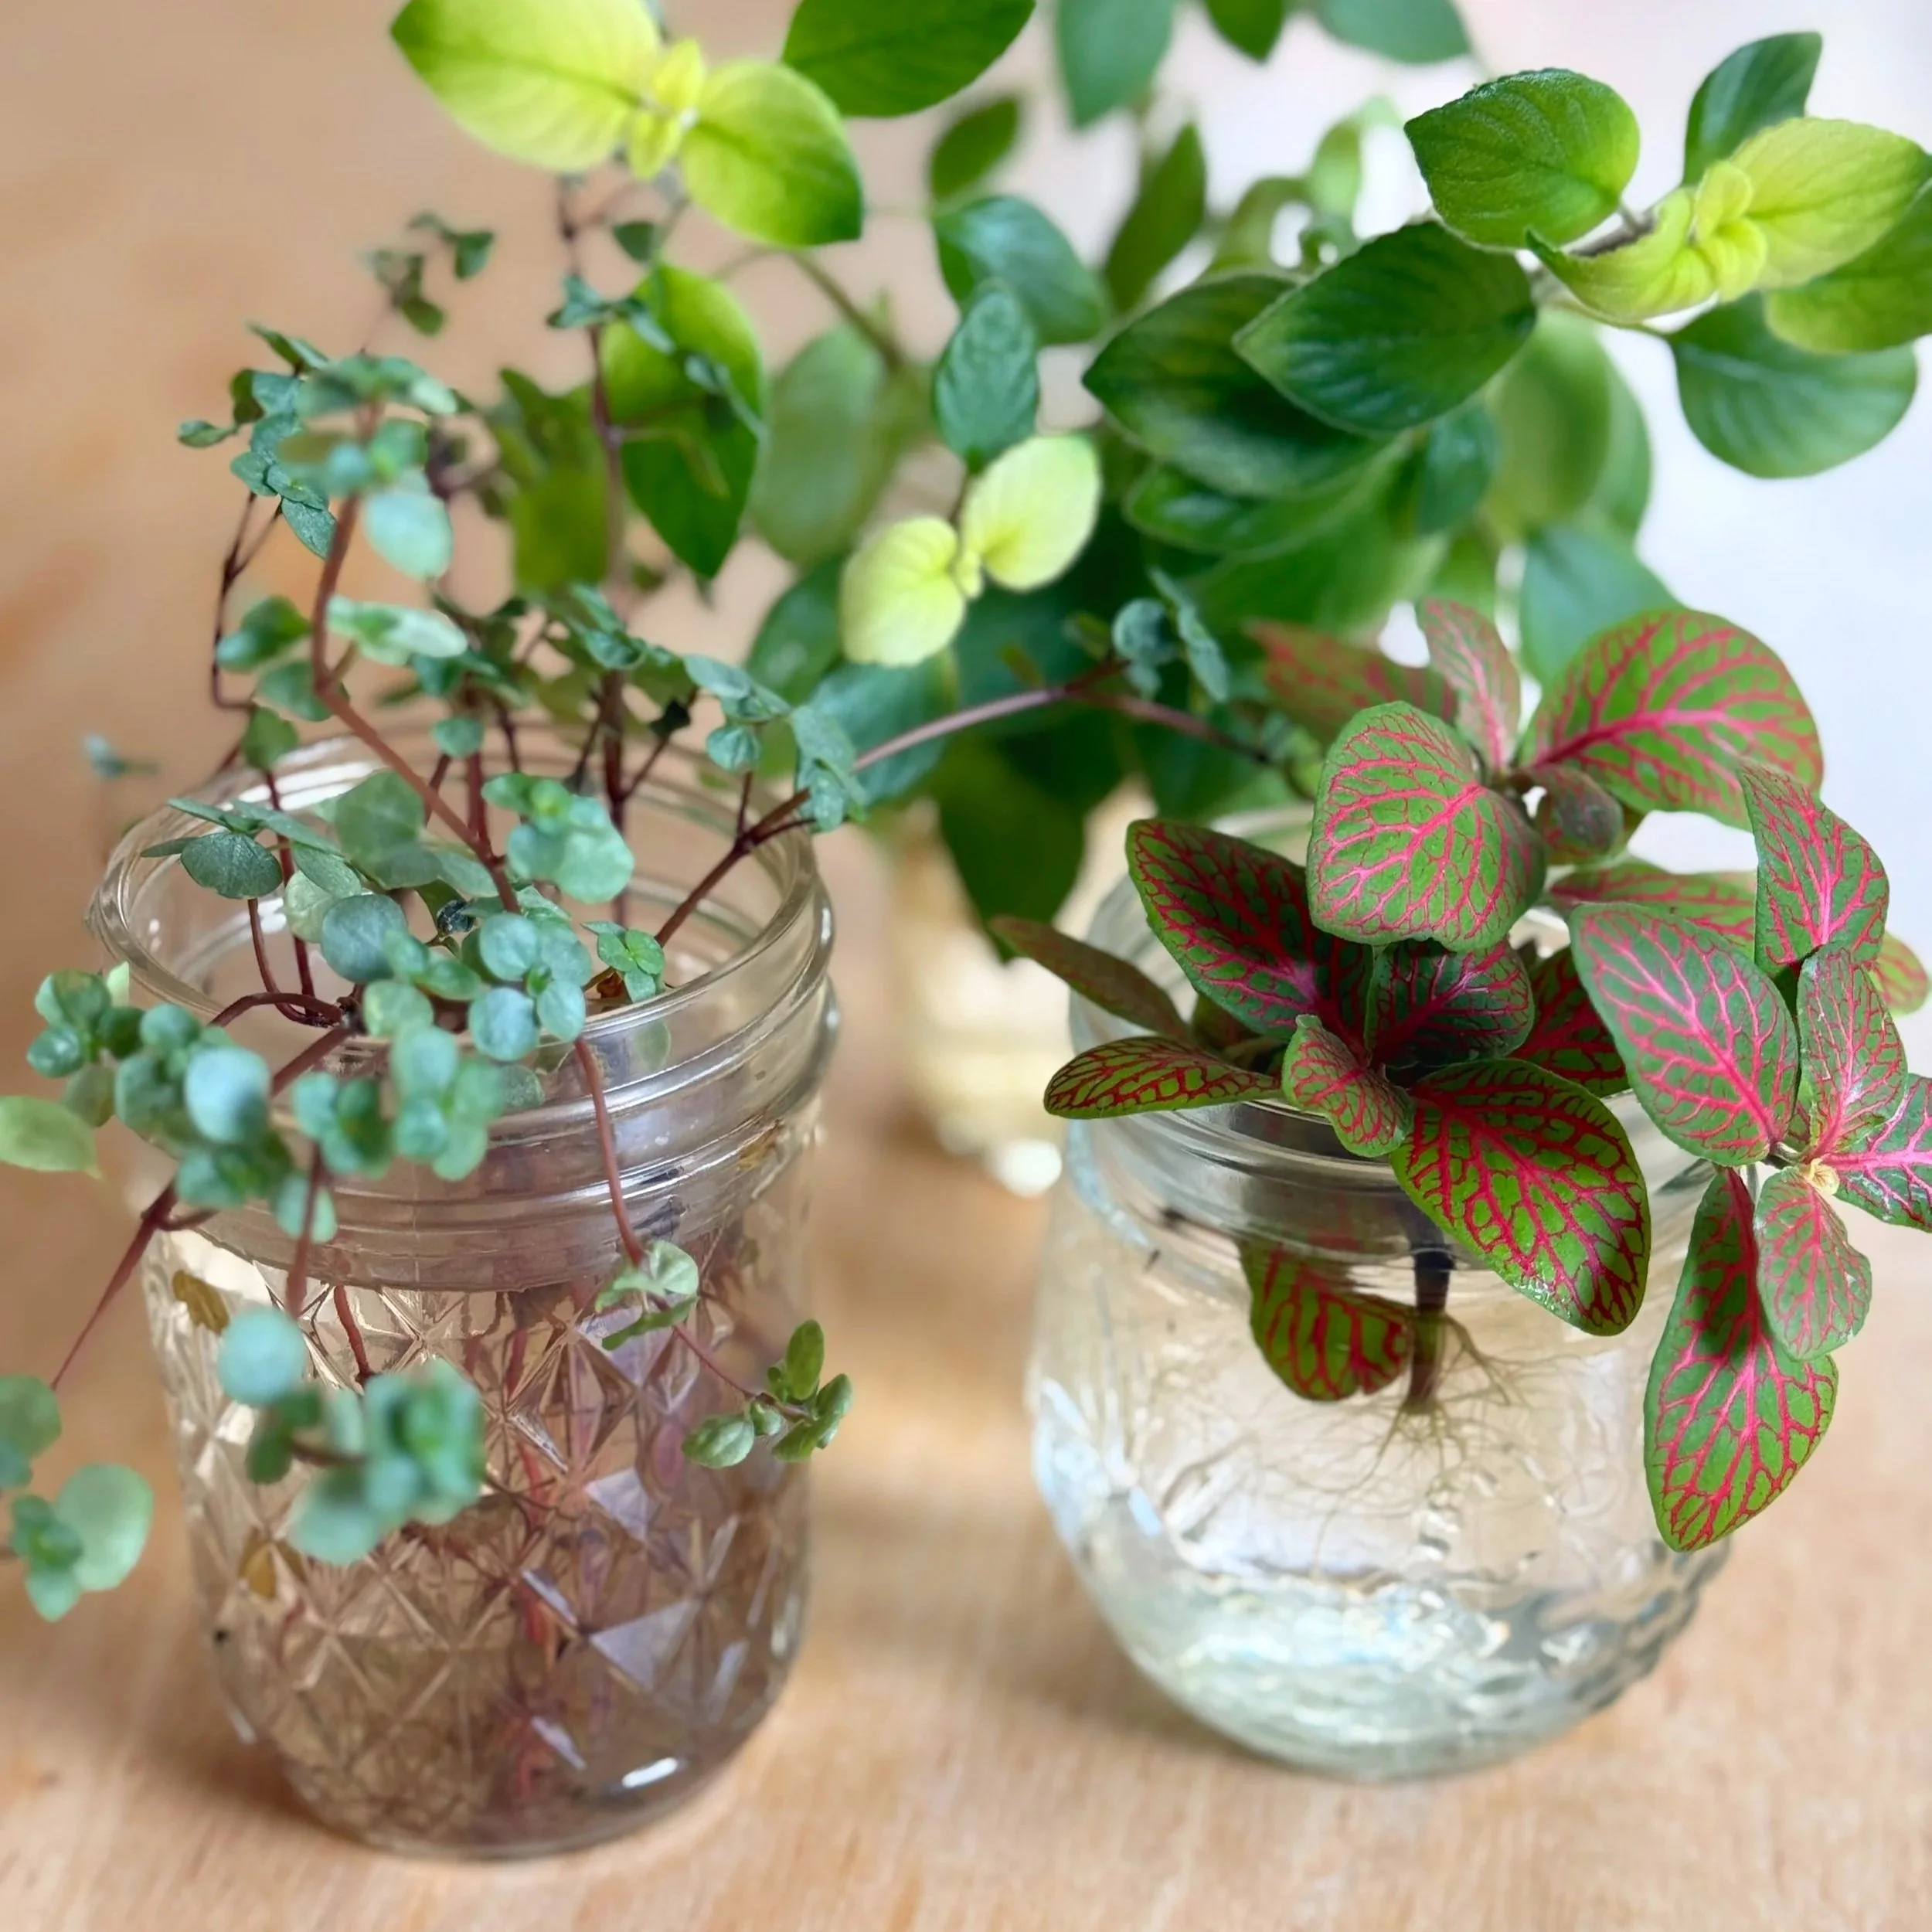
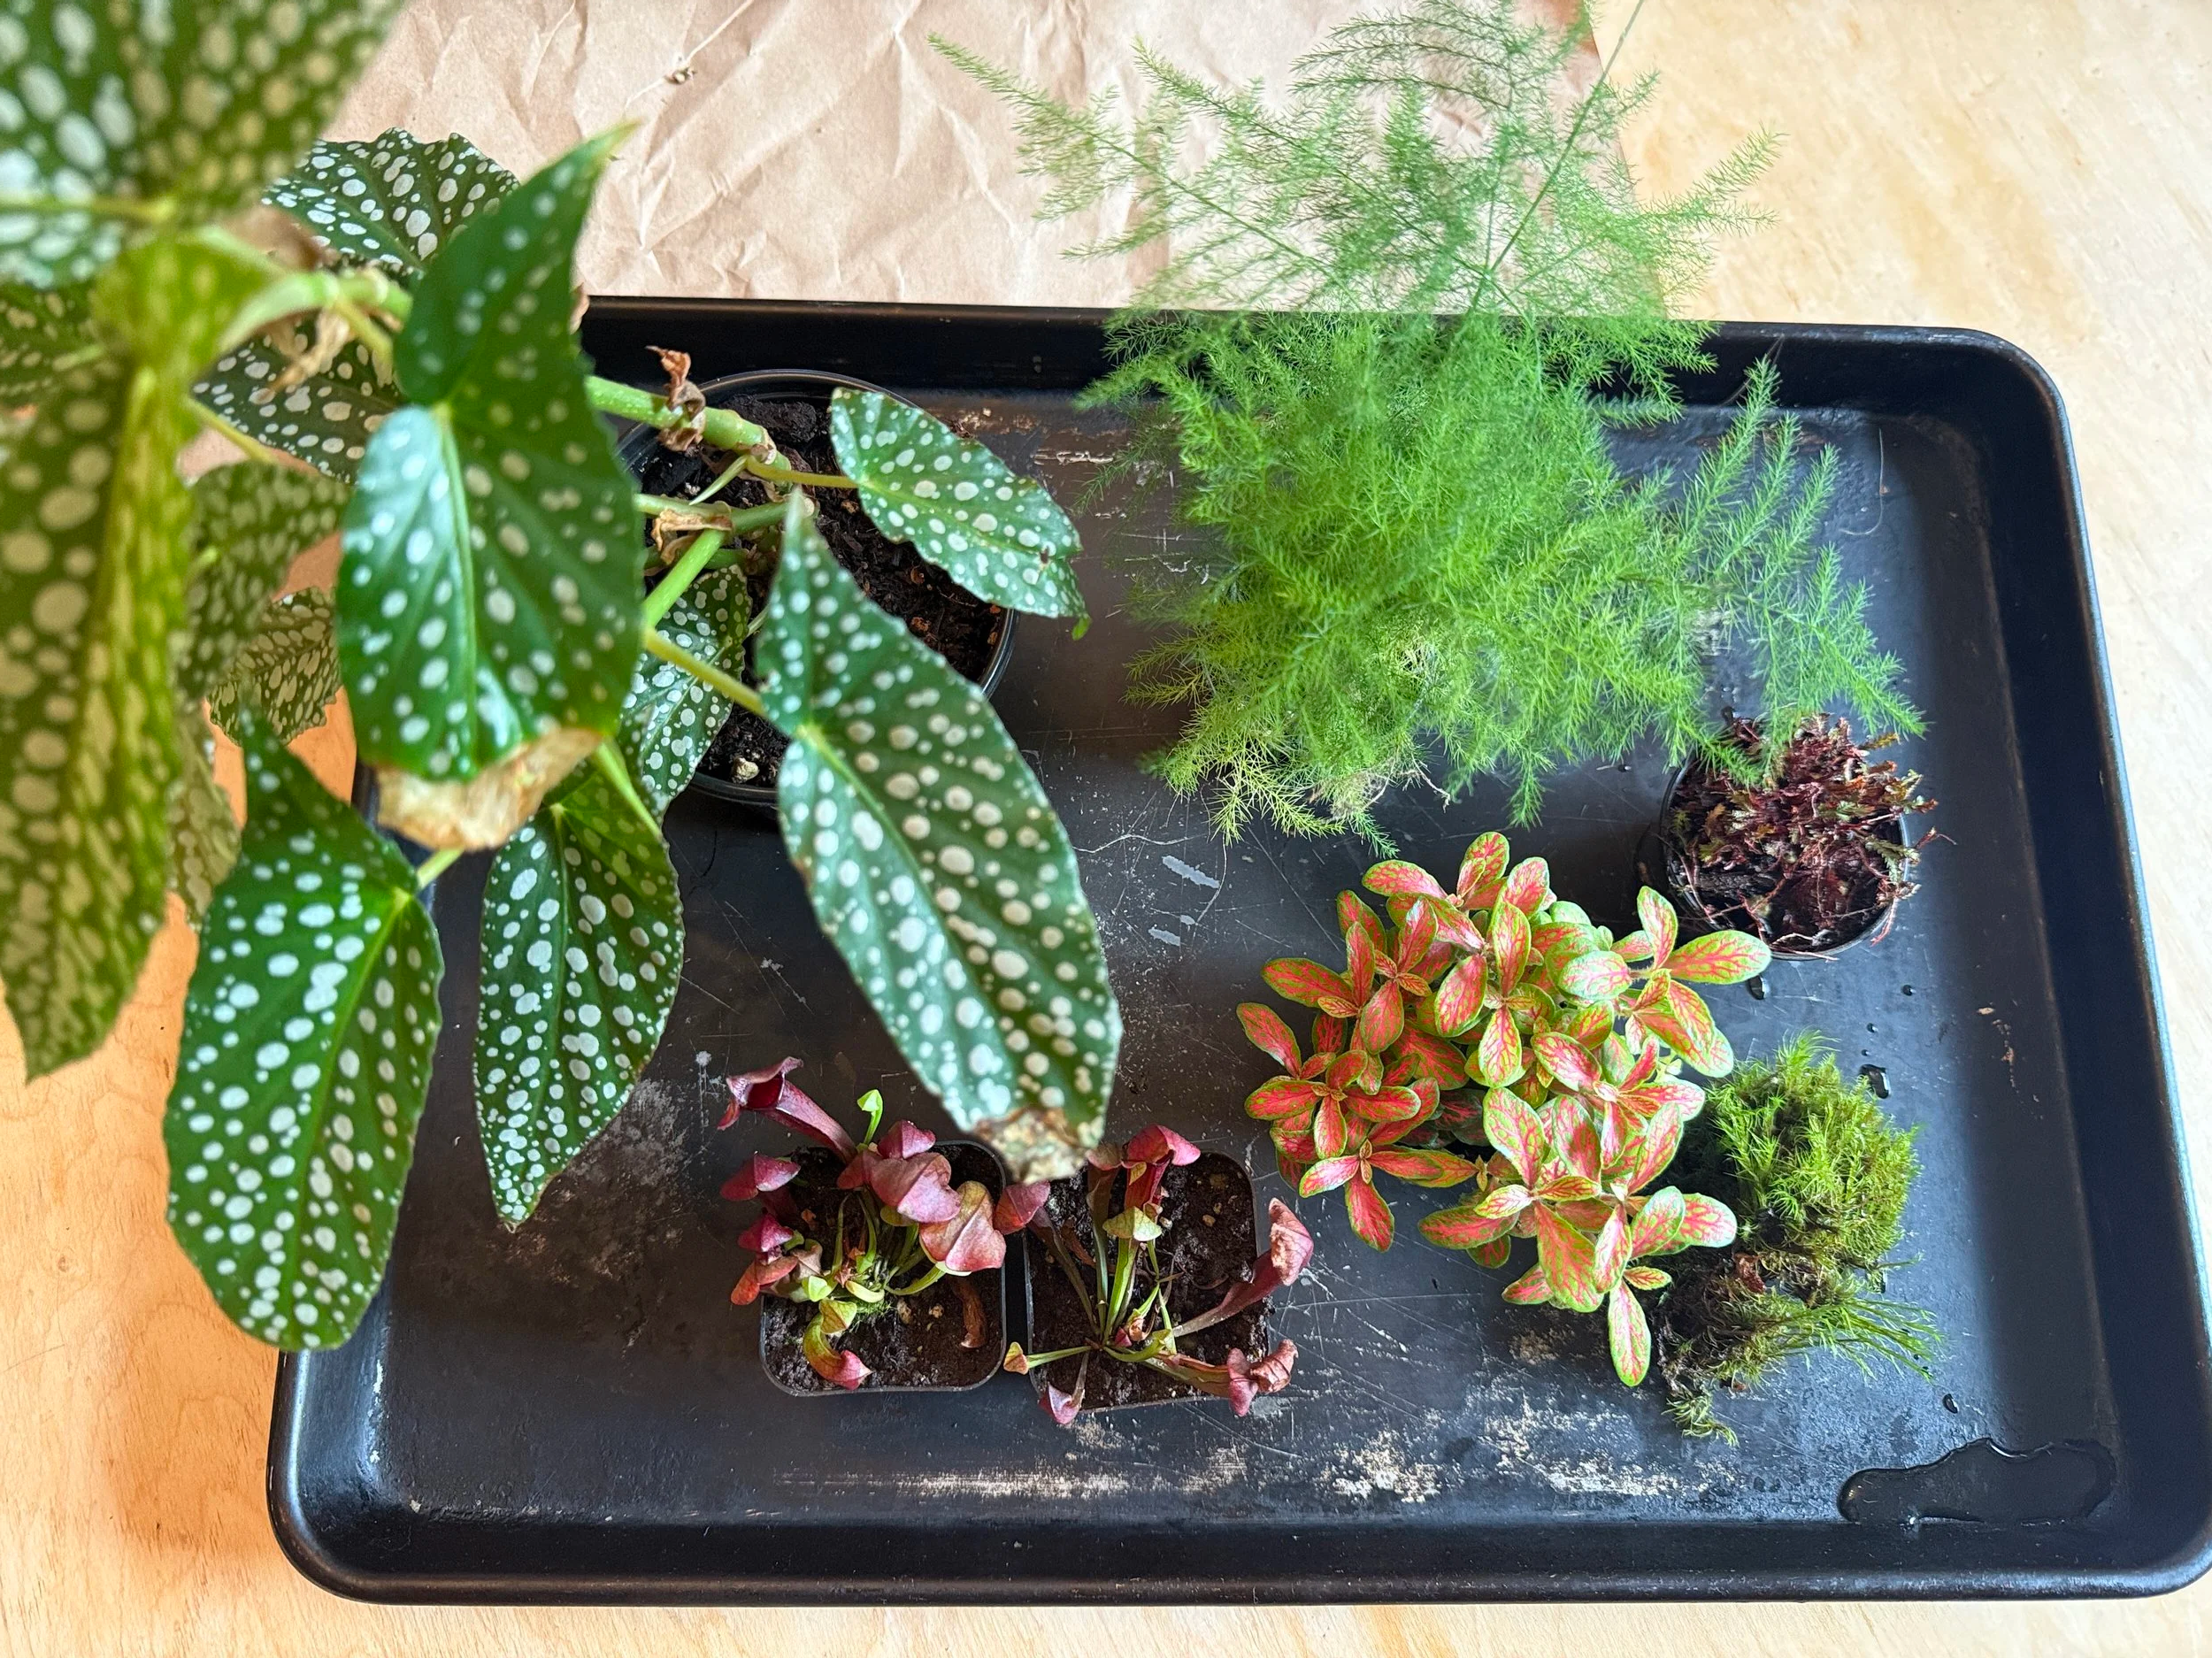
water loving plants!
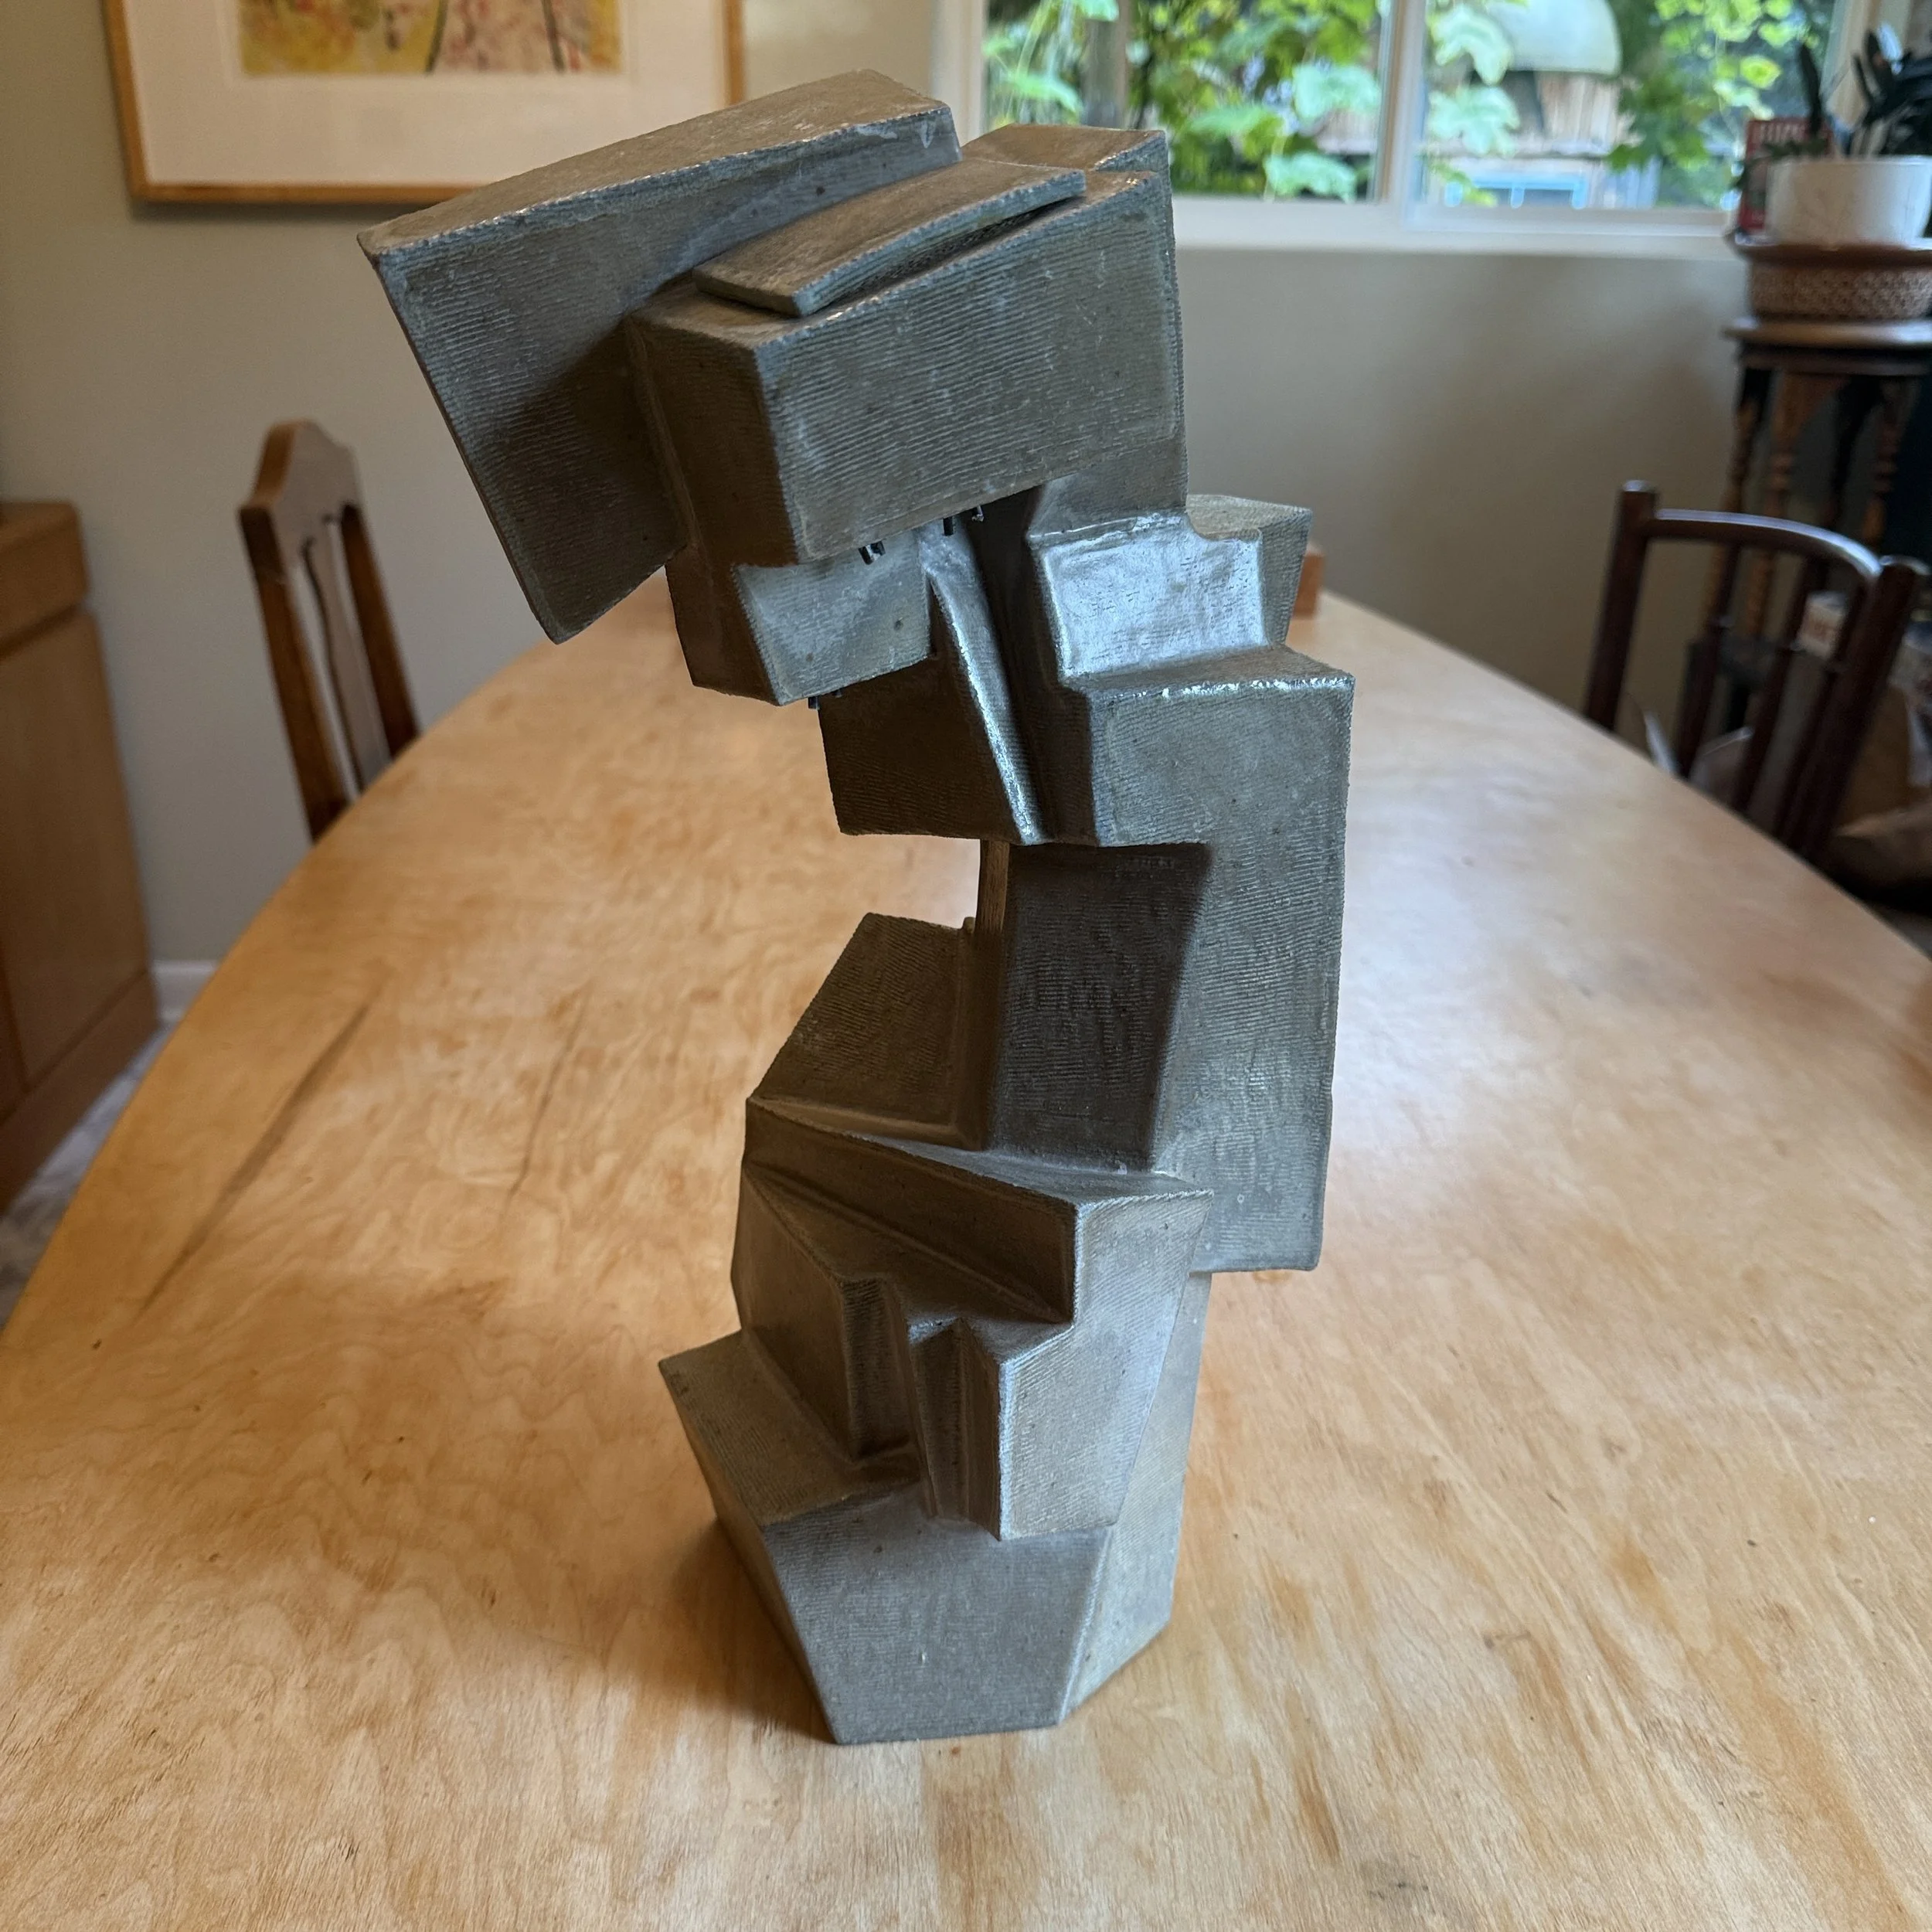
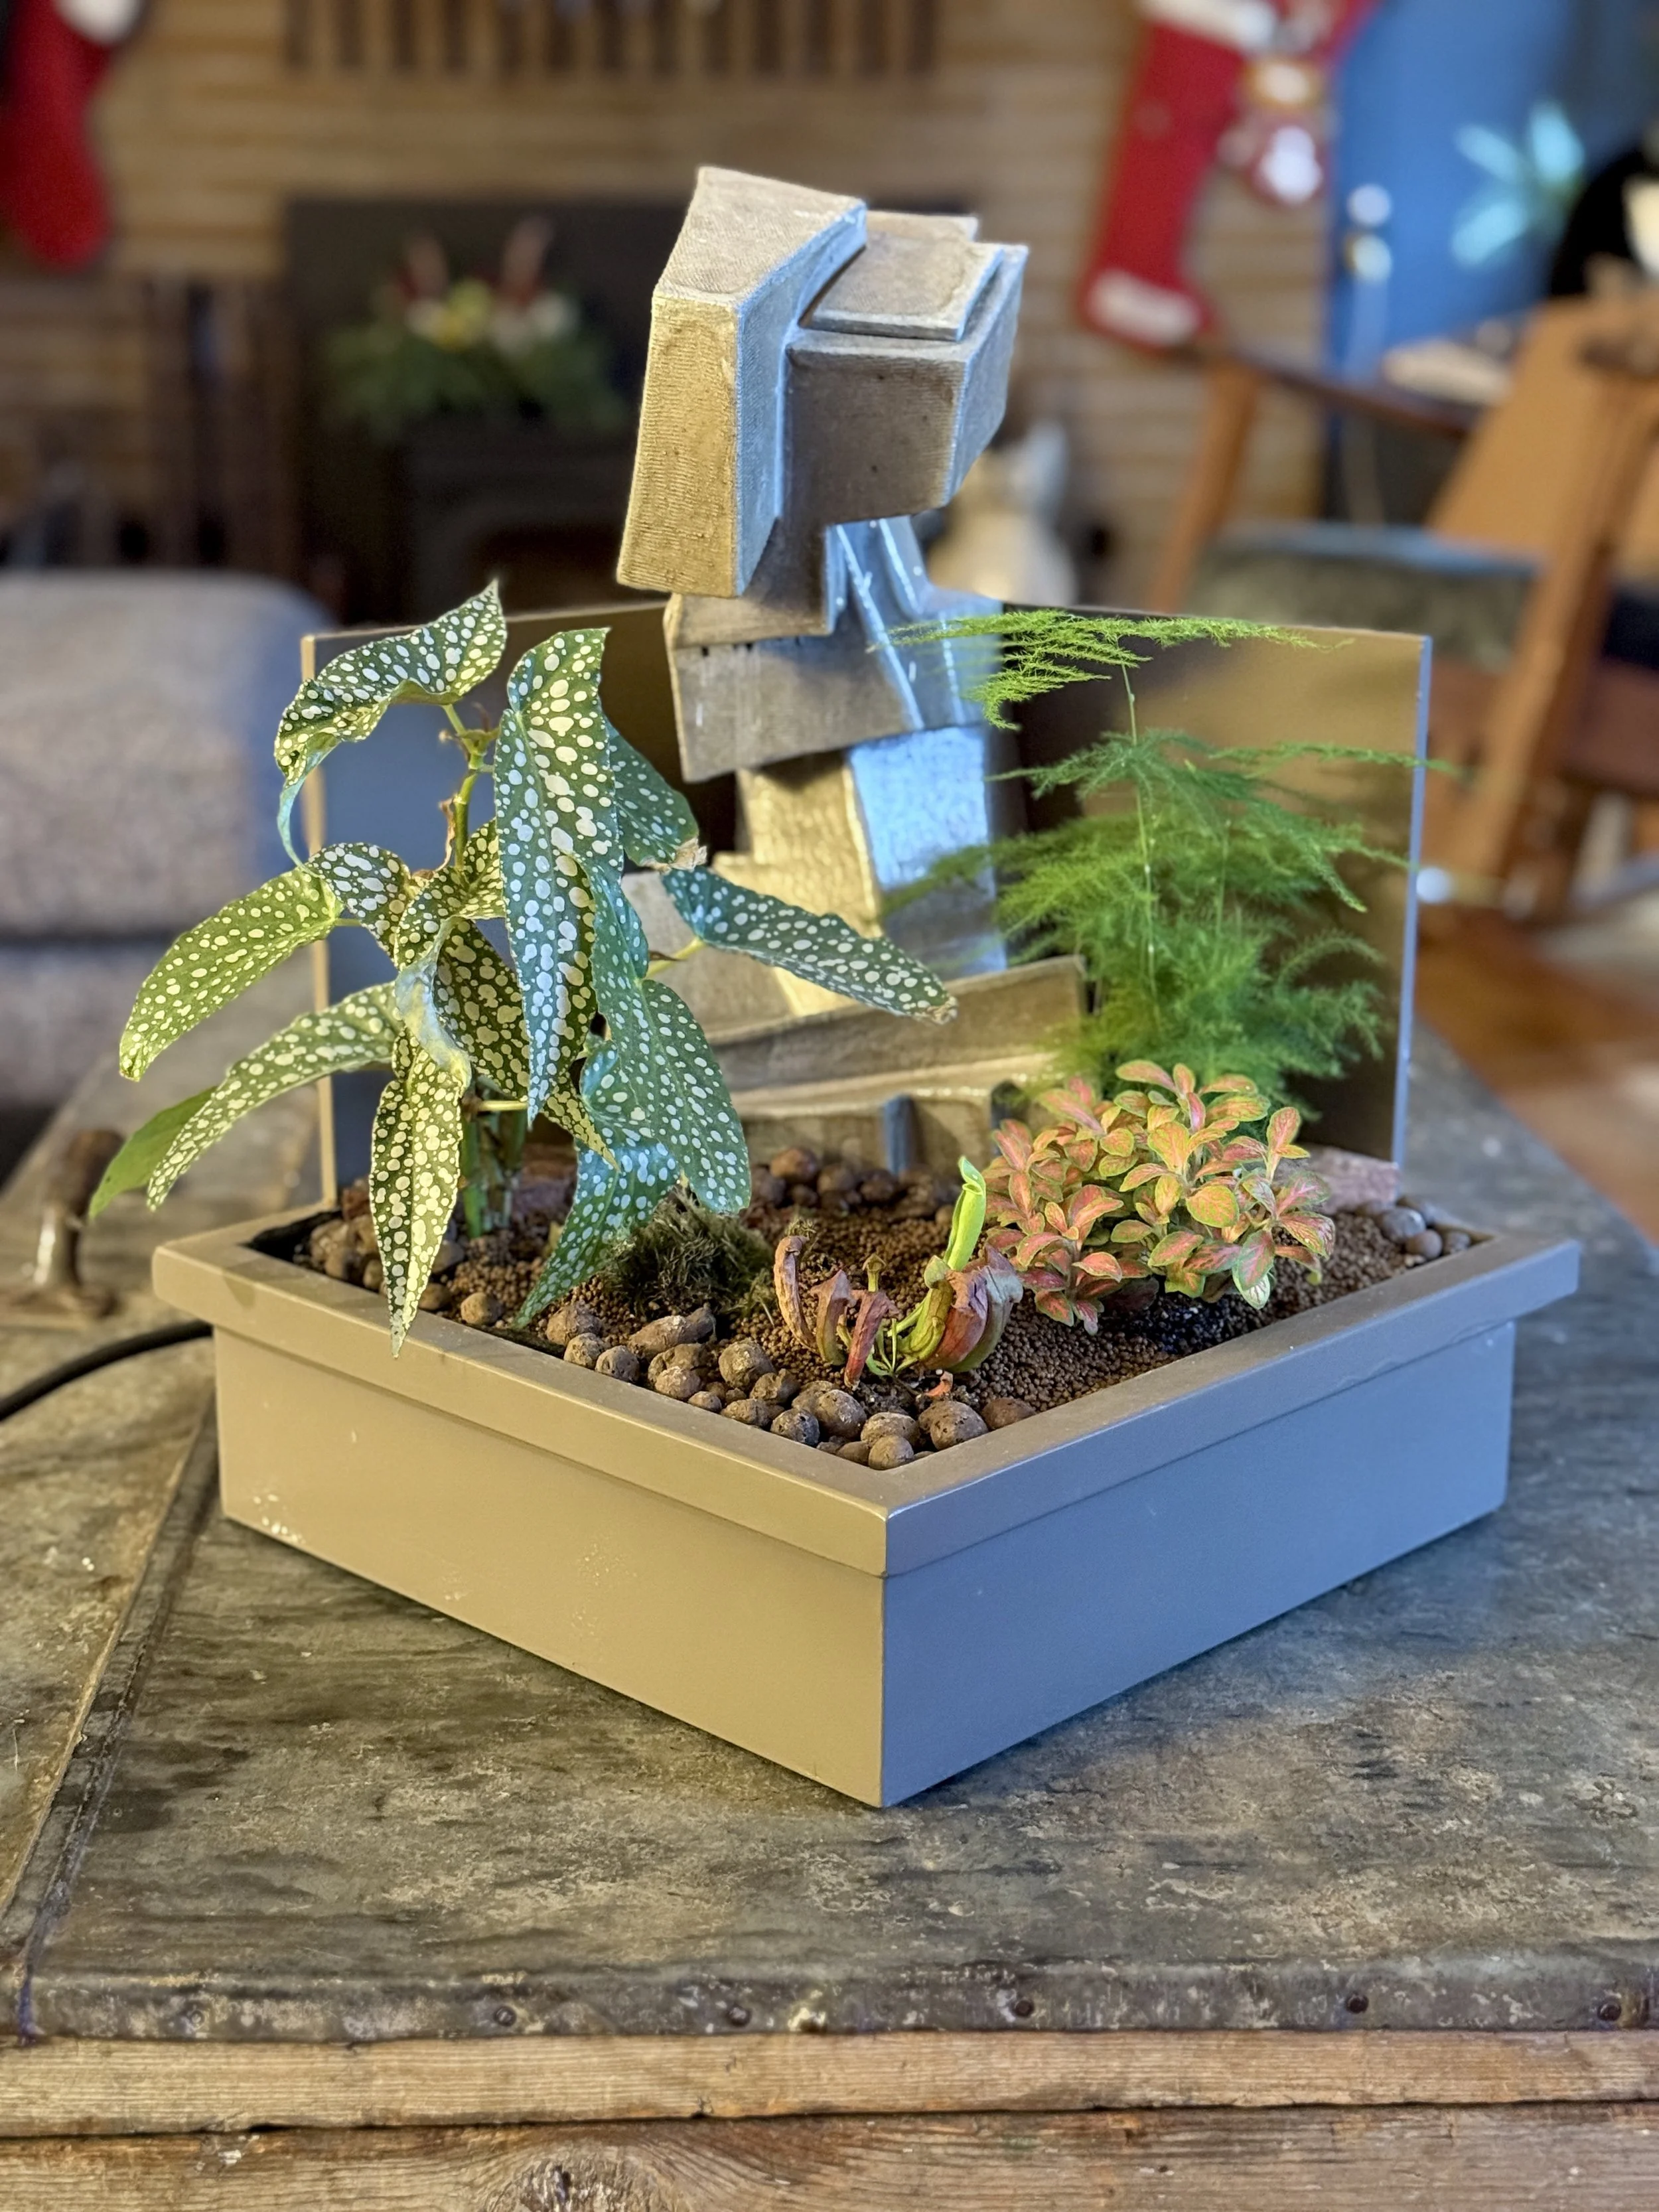
Incredible fountain made by Joe wilkinson. this fountain has an access point to the interior on top.
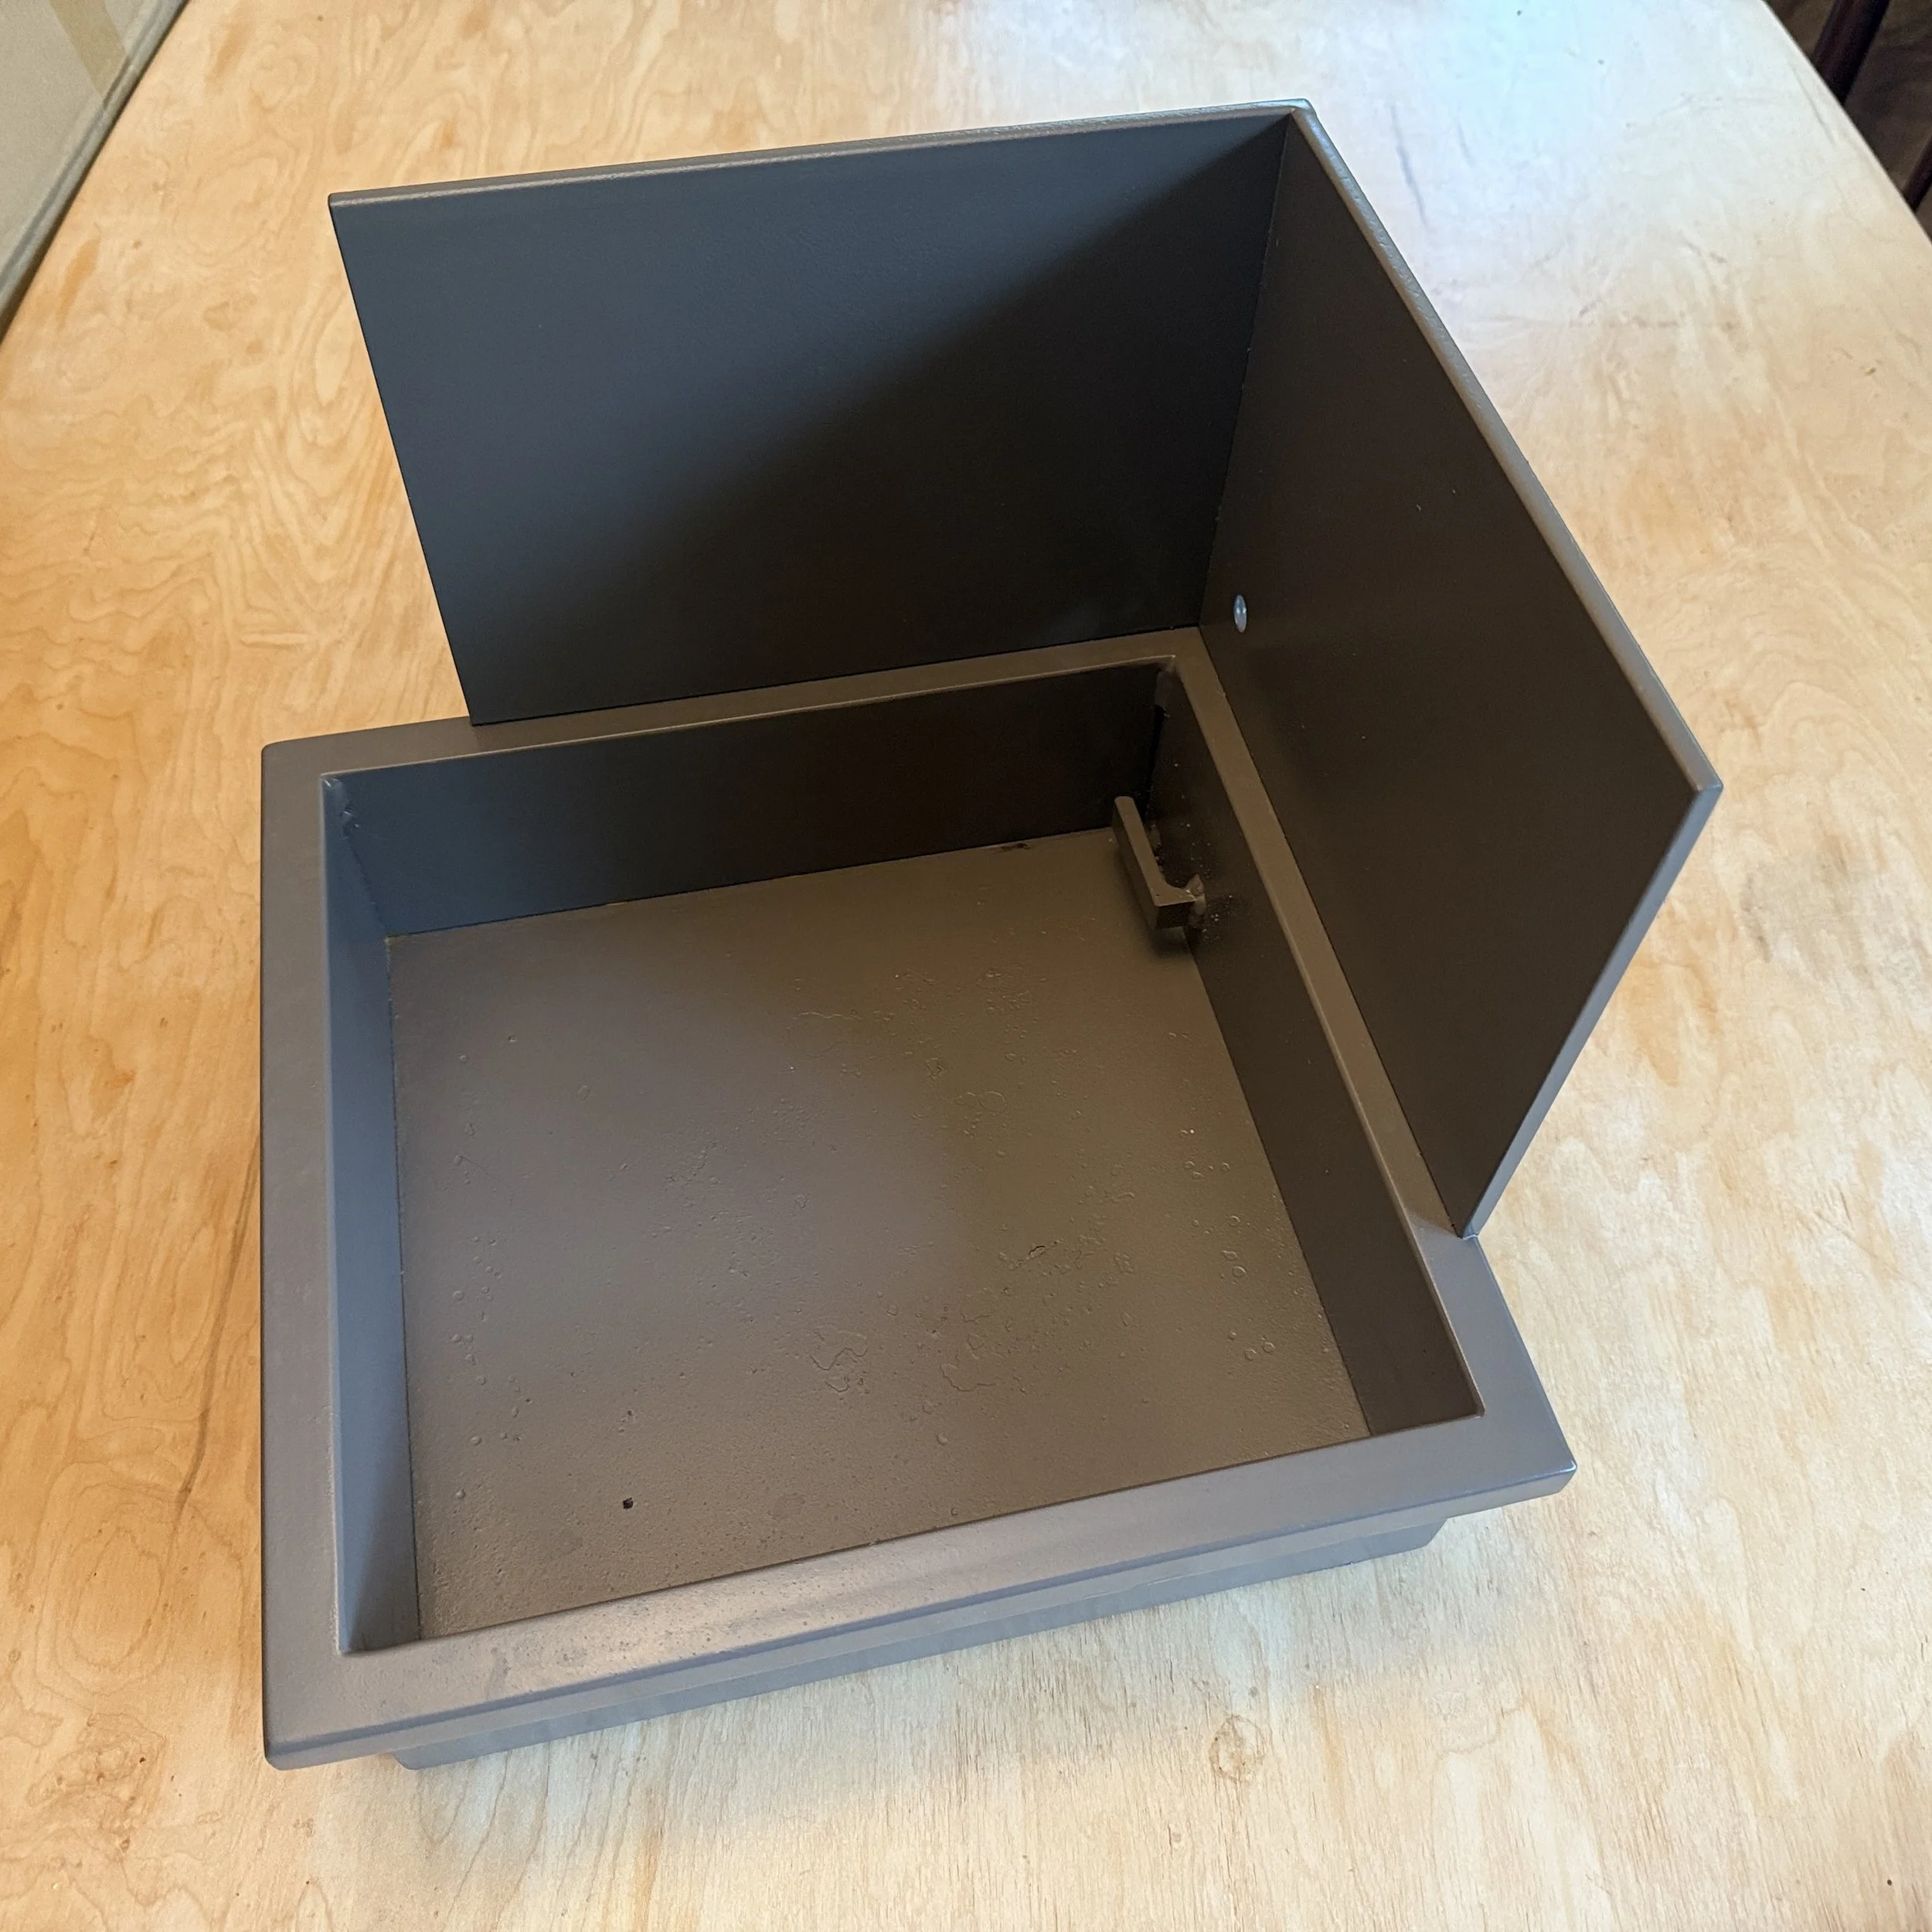
ceramic or metal base that is water tight + felt feel added before installing all the plants and water.

Composing the Materials
Placing the Fountain & Pump
Make sure the container you made or chose can hold water before proceeding. Fill it up and do a test!
Make sure the pump fits within the ceramic fountain component before doing all the work to get the pump in place and electrified.
Test the fit of everything without water before electrifying.
Test the electricity before adding all the substrate and plants.
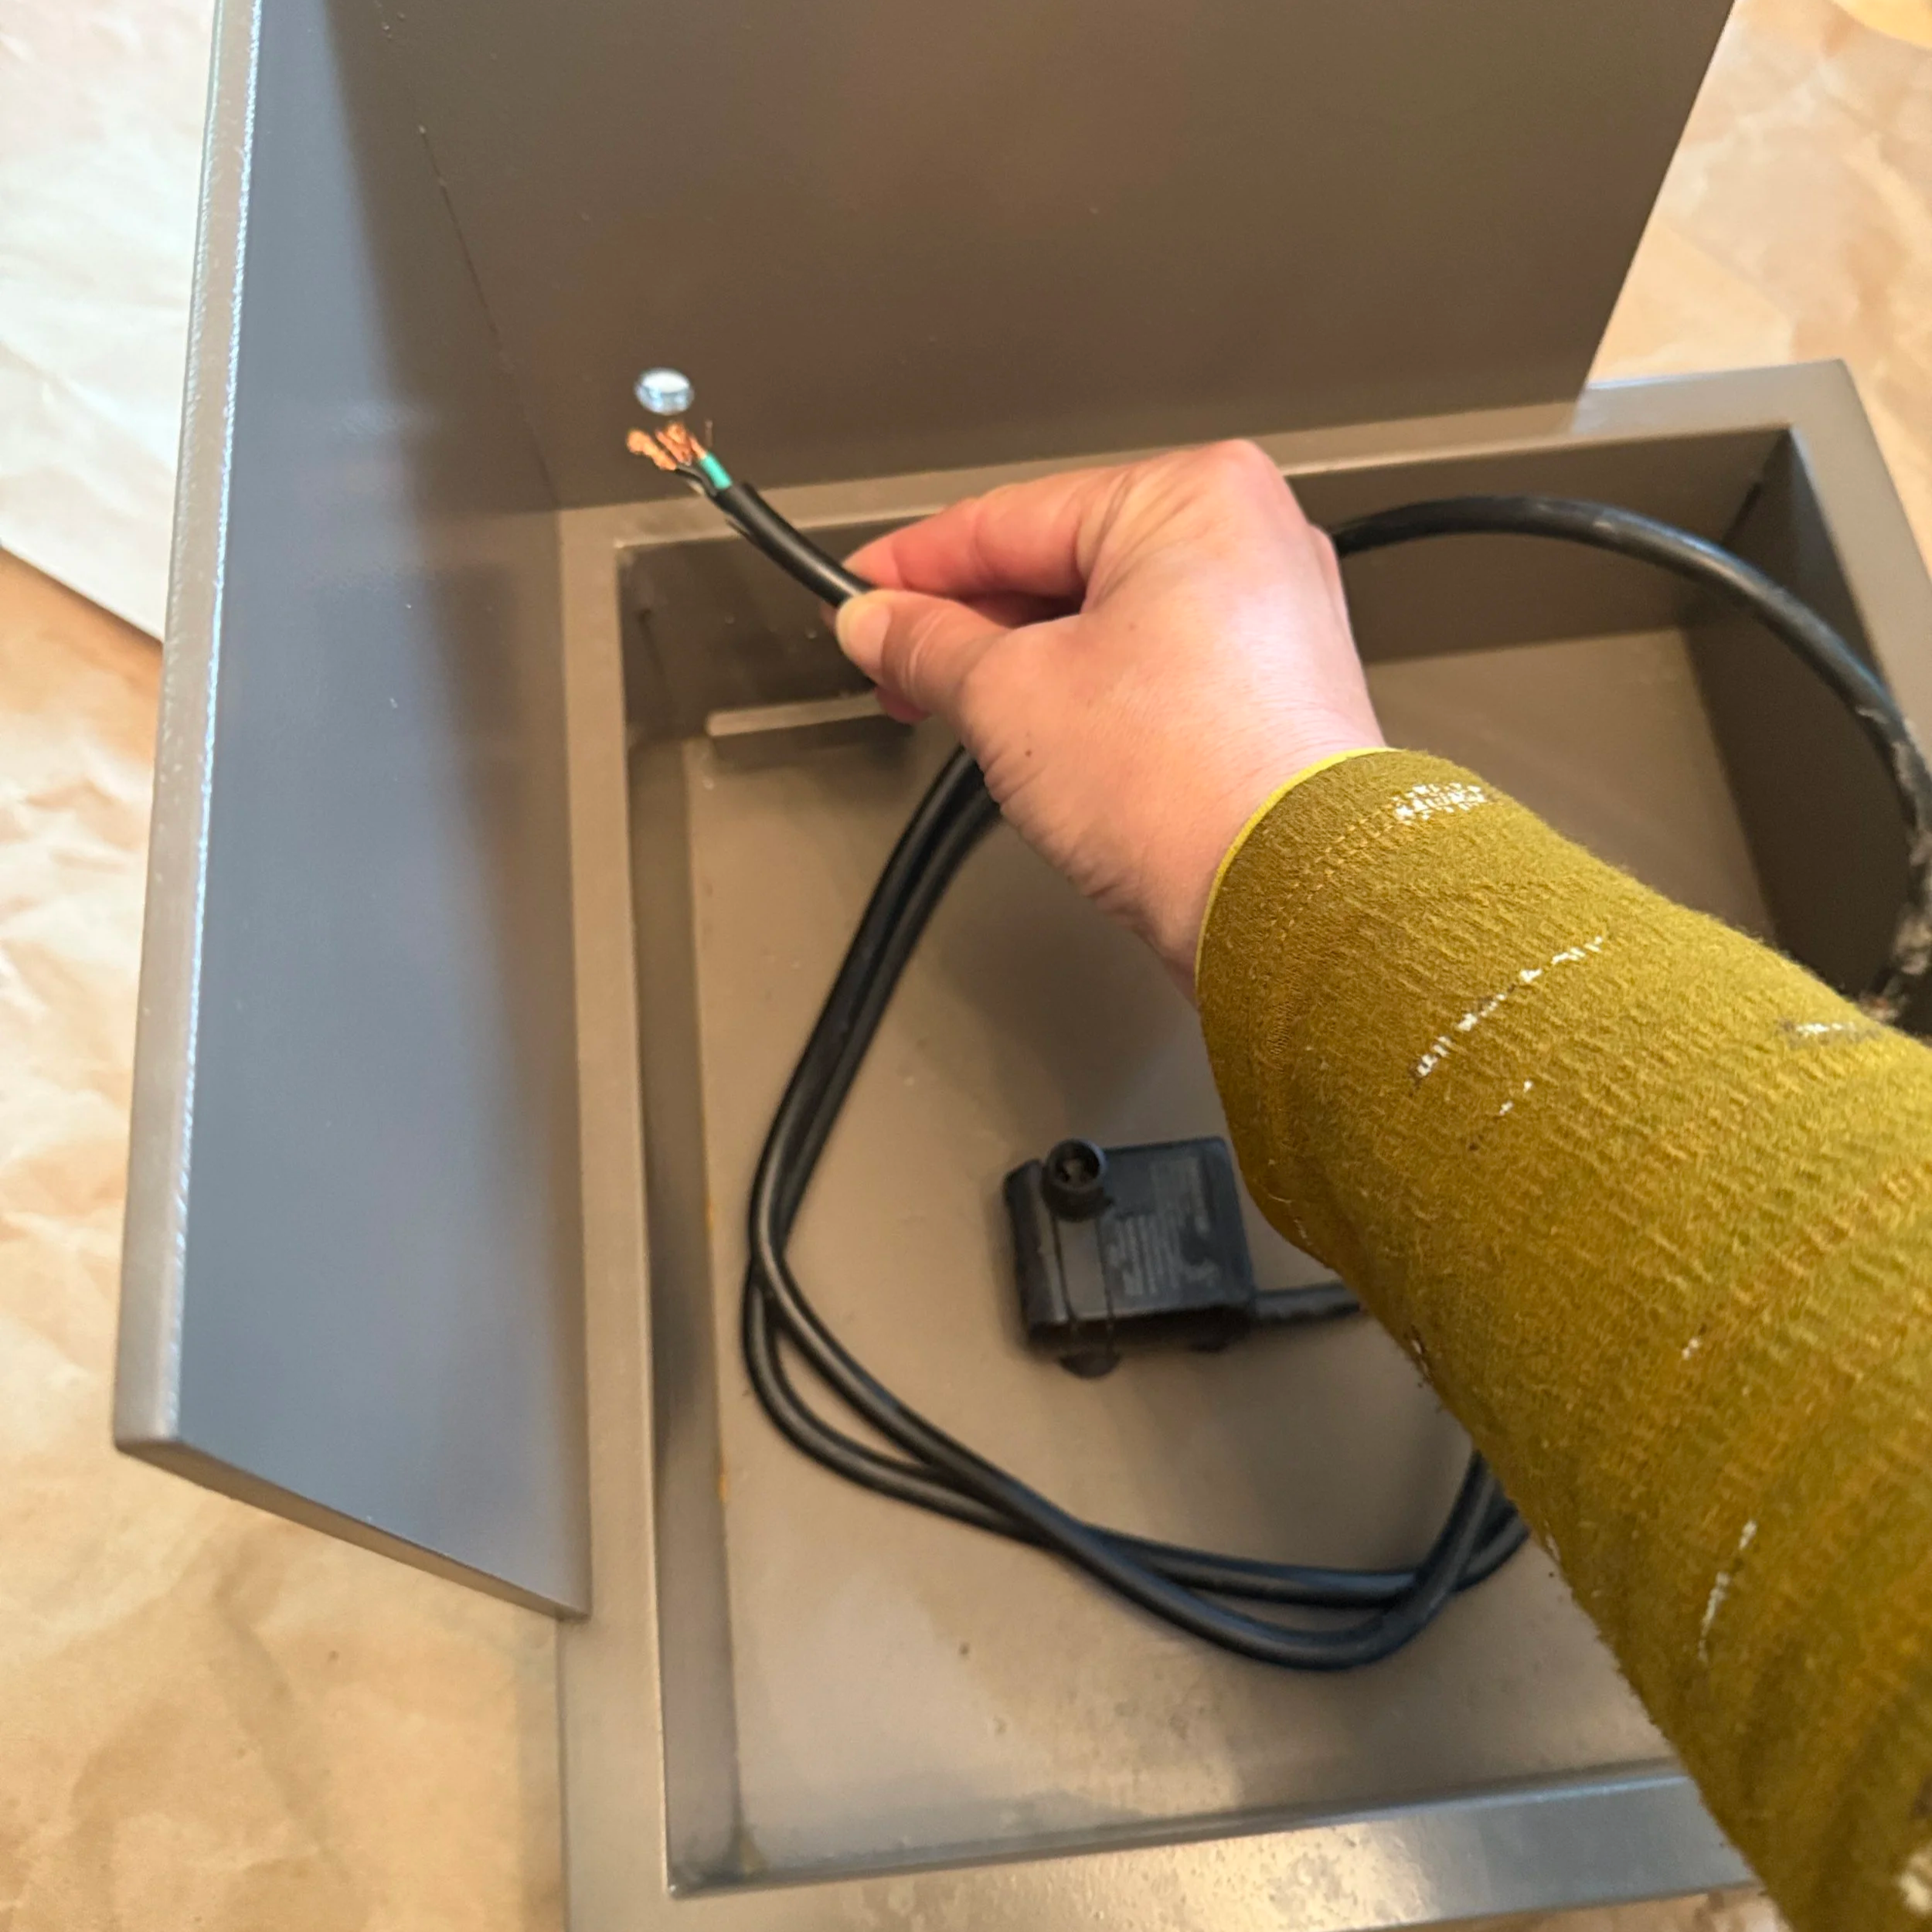
Wiring
This is not a blog about how to wire a fountain. Consult your electrician or YouTube for direction on this matter.
Thread the cord through the container's wall and exit to the power source.
Attach the cord to the plug. Make sure everything is secure.
Make sure no water can travel down the cord to the outlet!
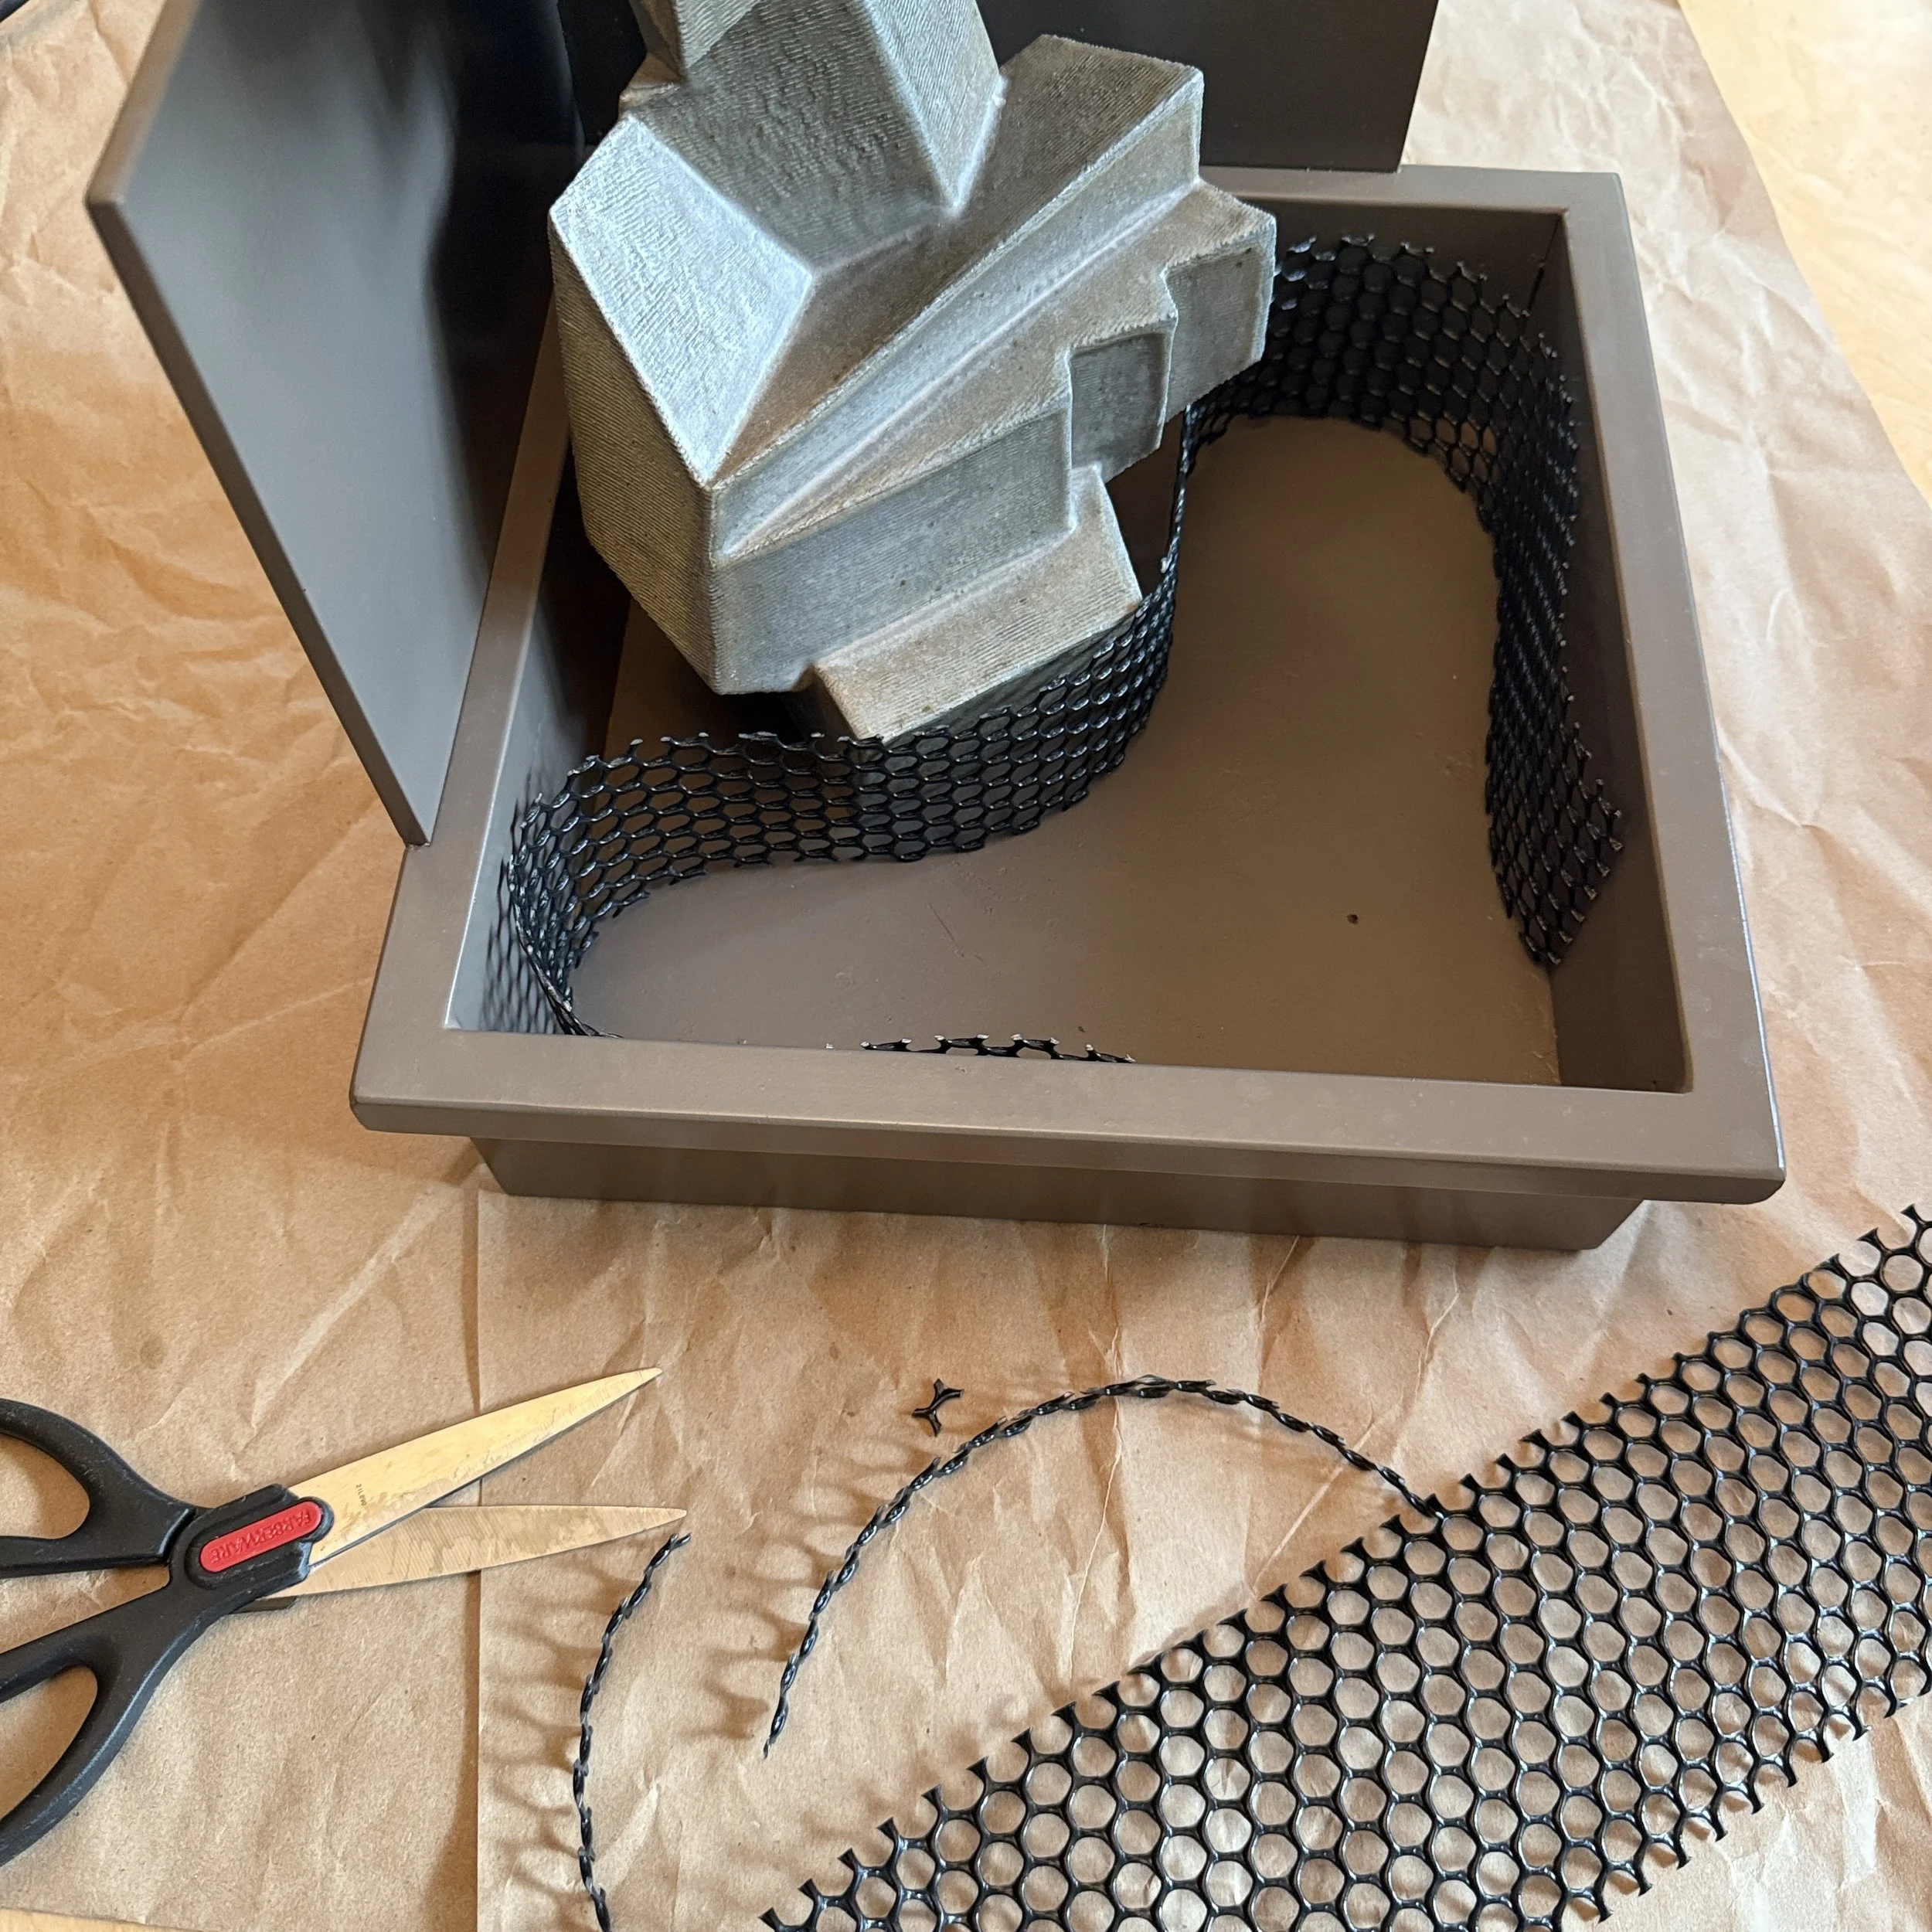
Layering Planting Materials
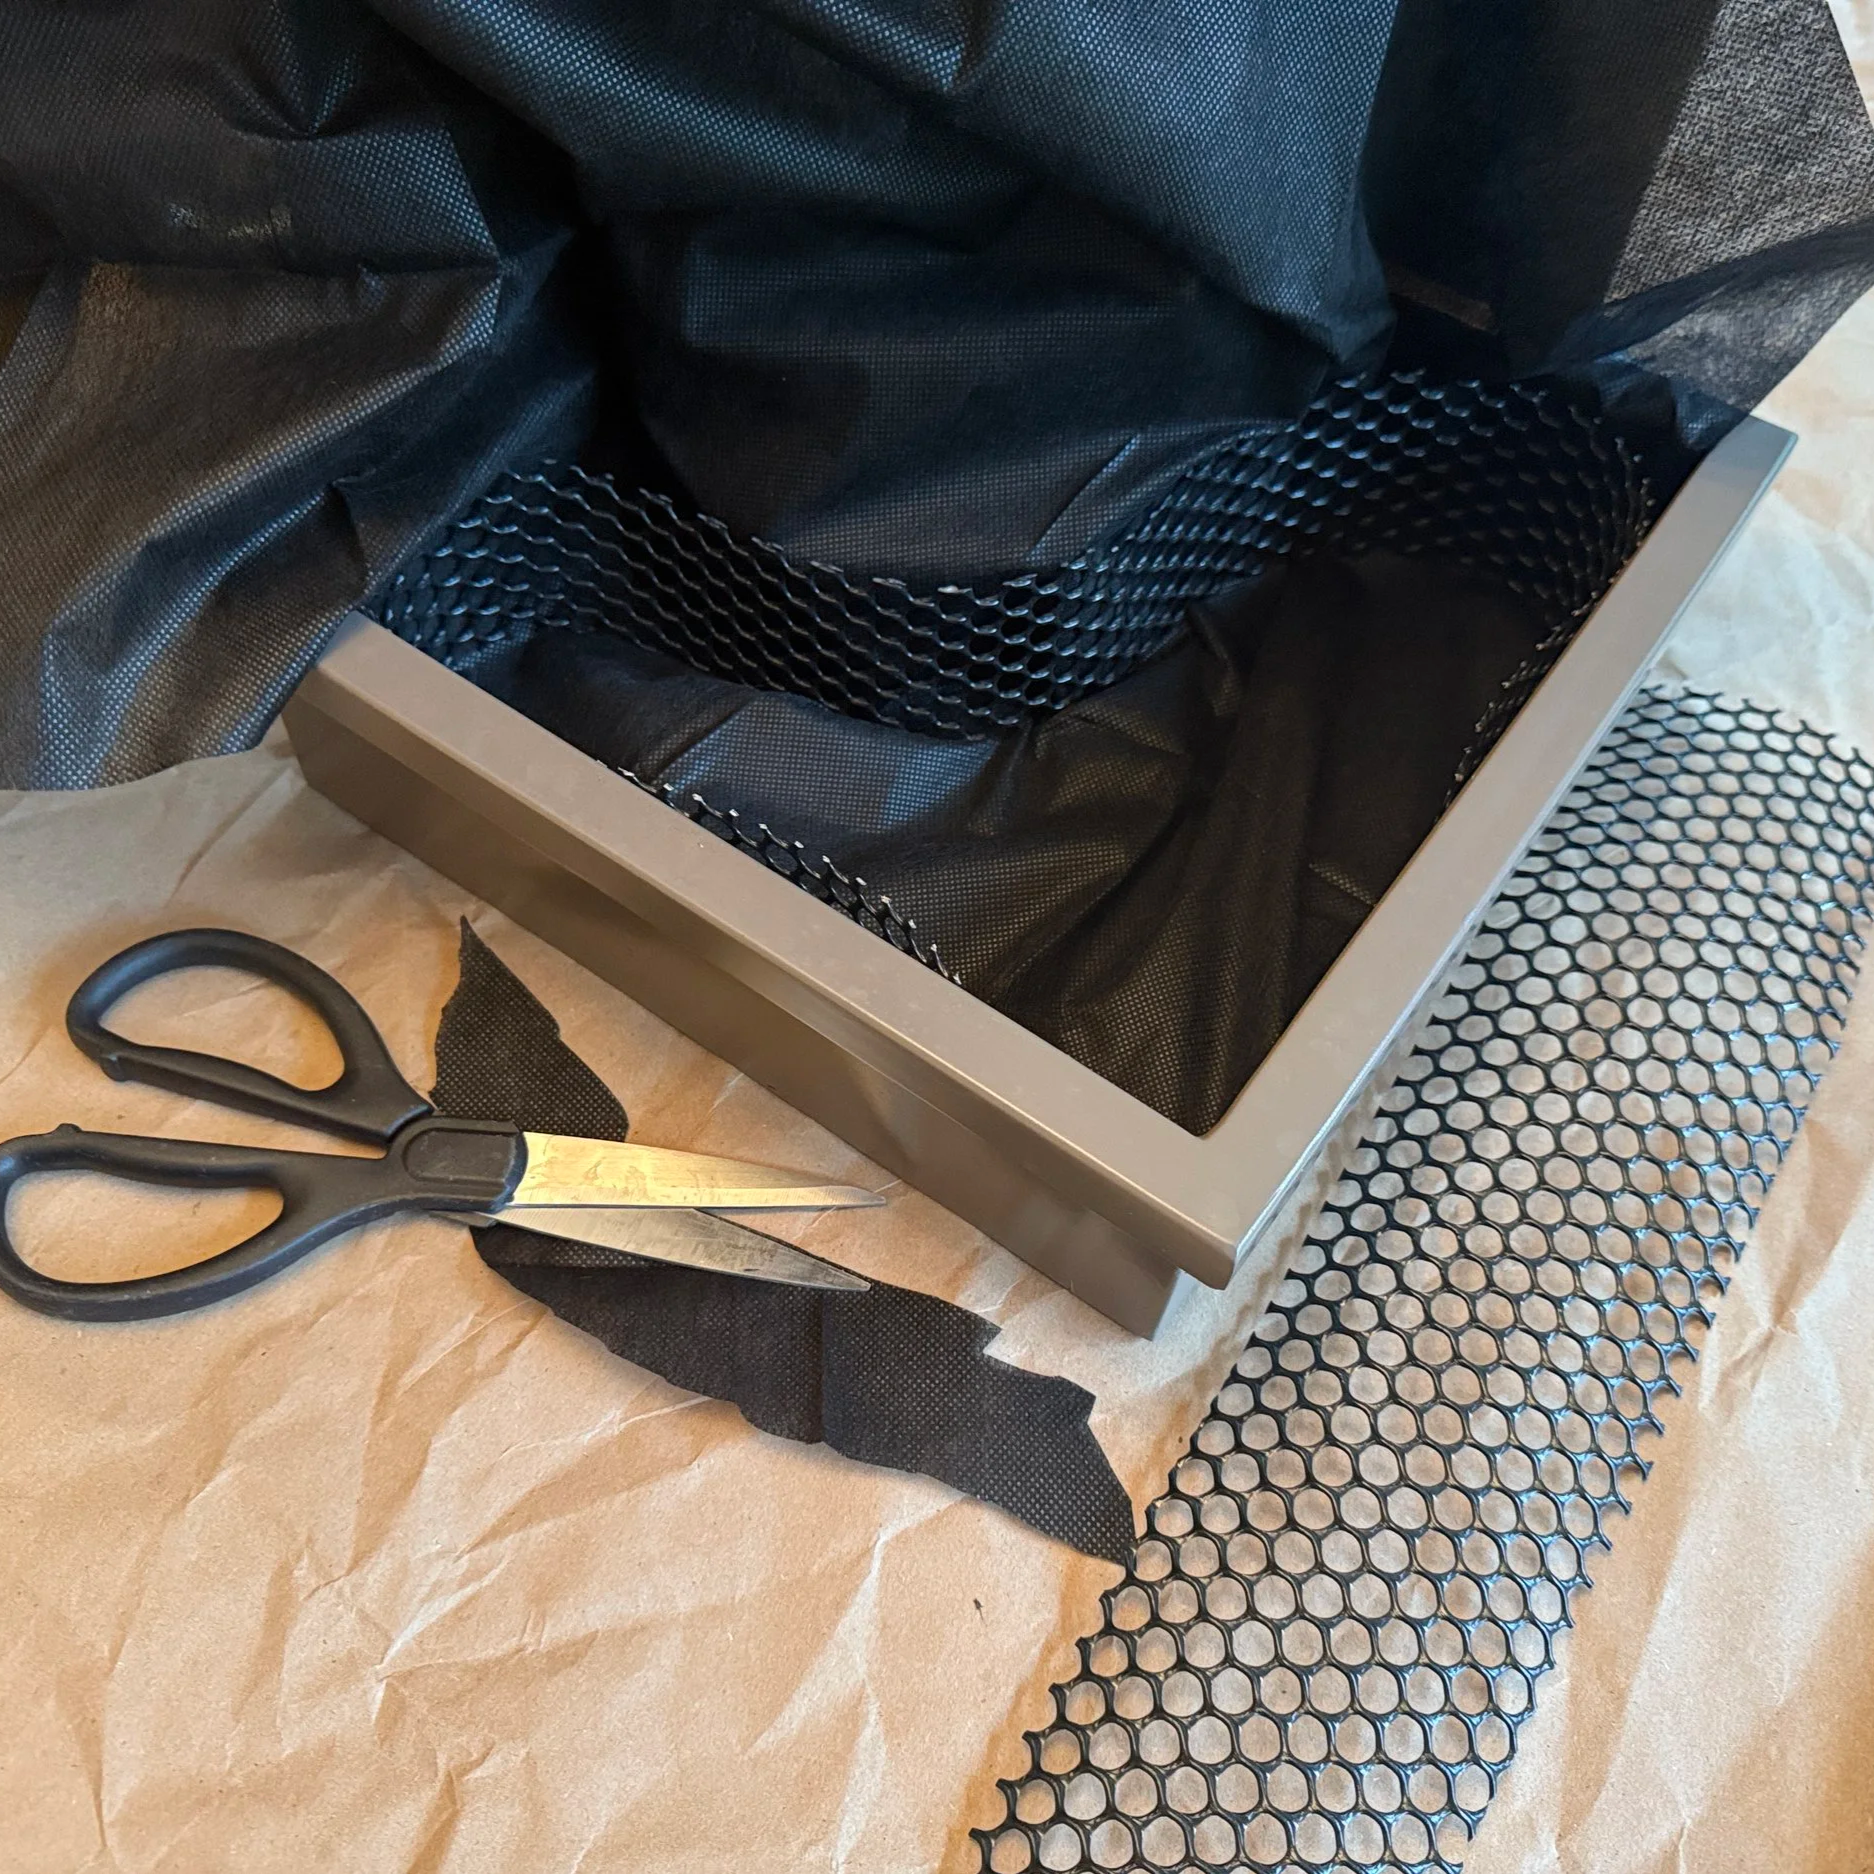
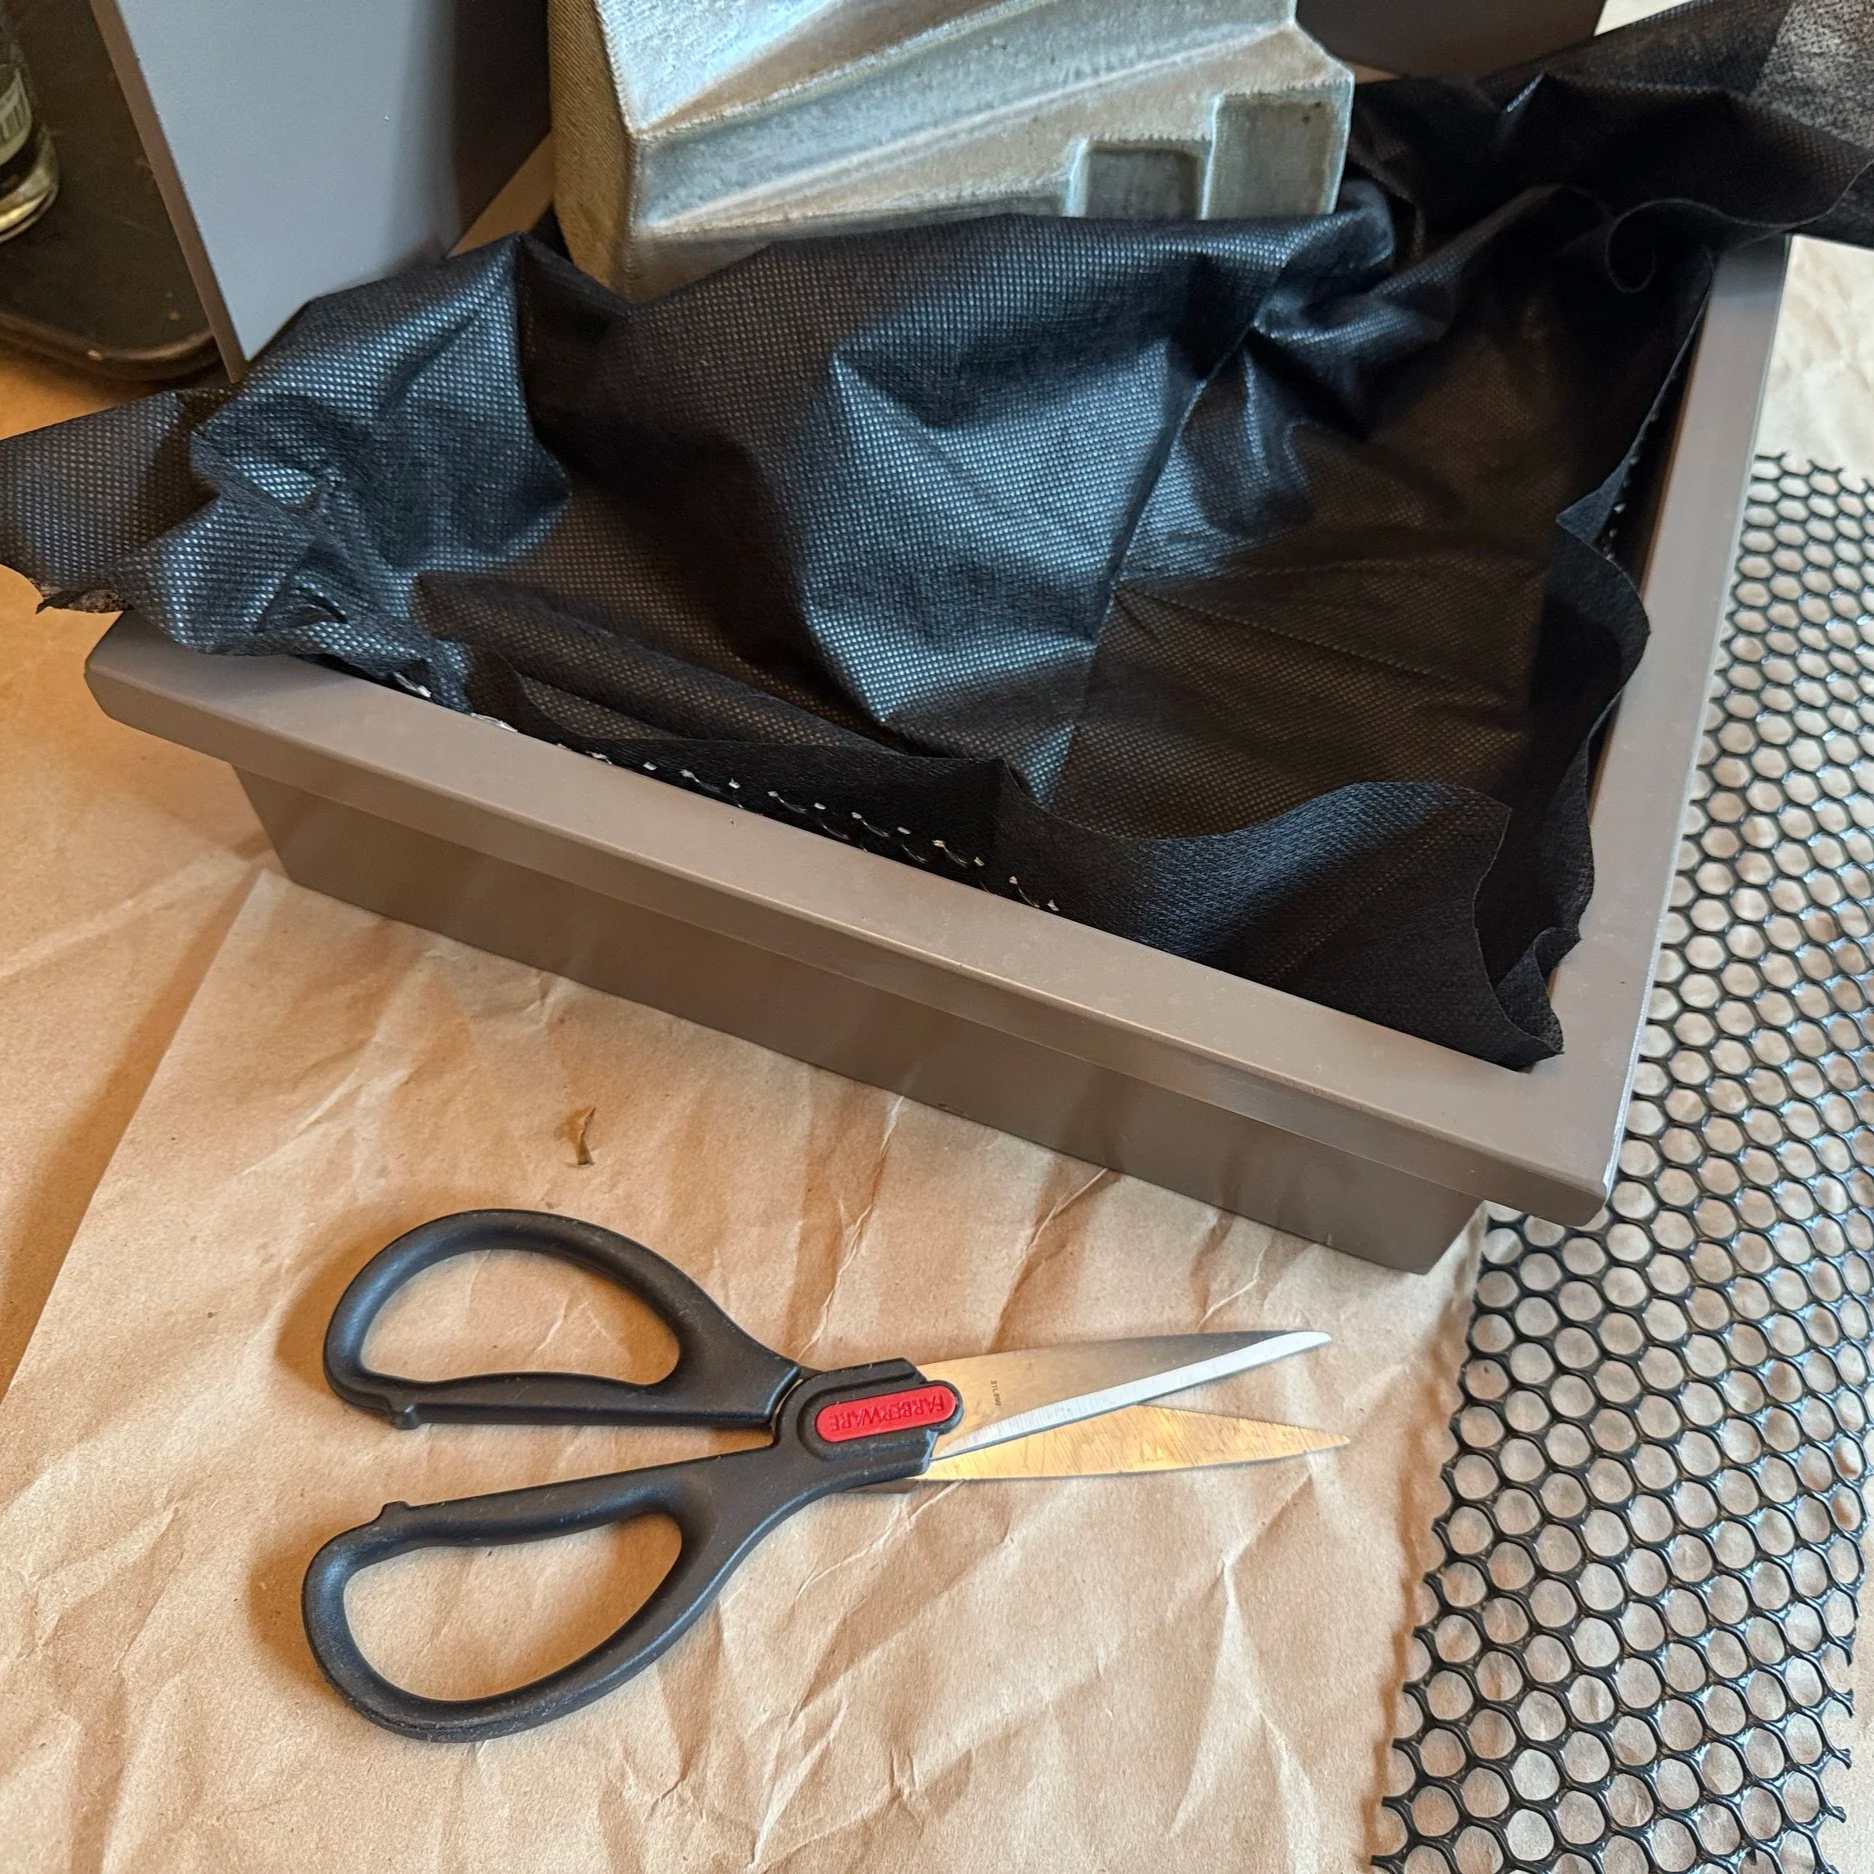
Test and trim out the fence material so it fits snugly. This step is just for sizing the material. Once it is sized, remove the fence material.
Line the container with the water-permeable fabric, and then put the fence material back in place. This material keeps bits of organic matter from flowing through the pump.
Add the clay pebbles. We did ours about 1” deep.
Wrap the fabric over the pebbles
Placing Plants
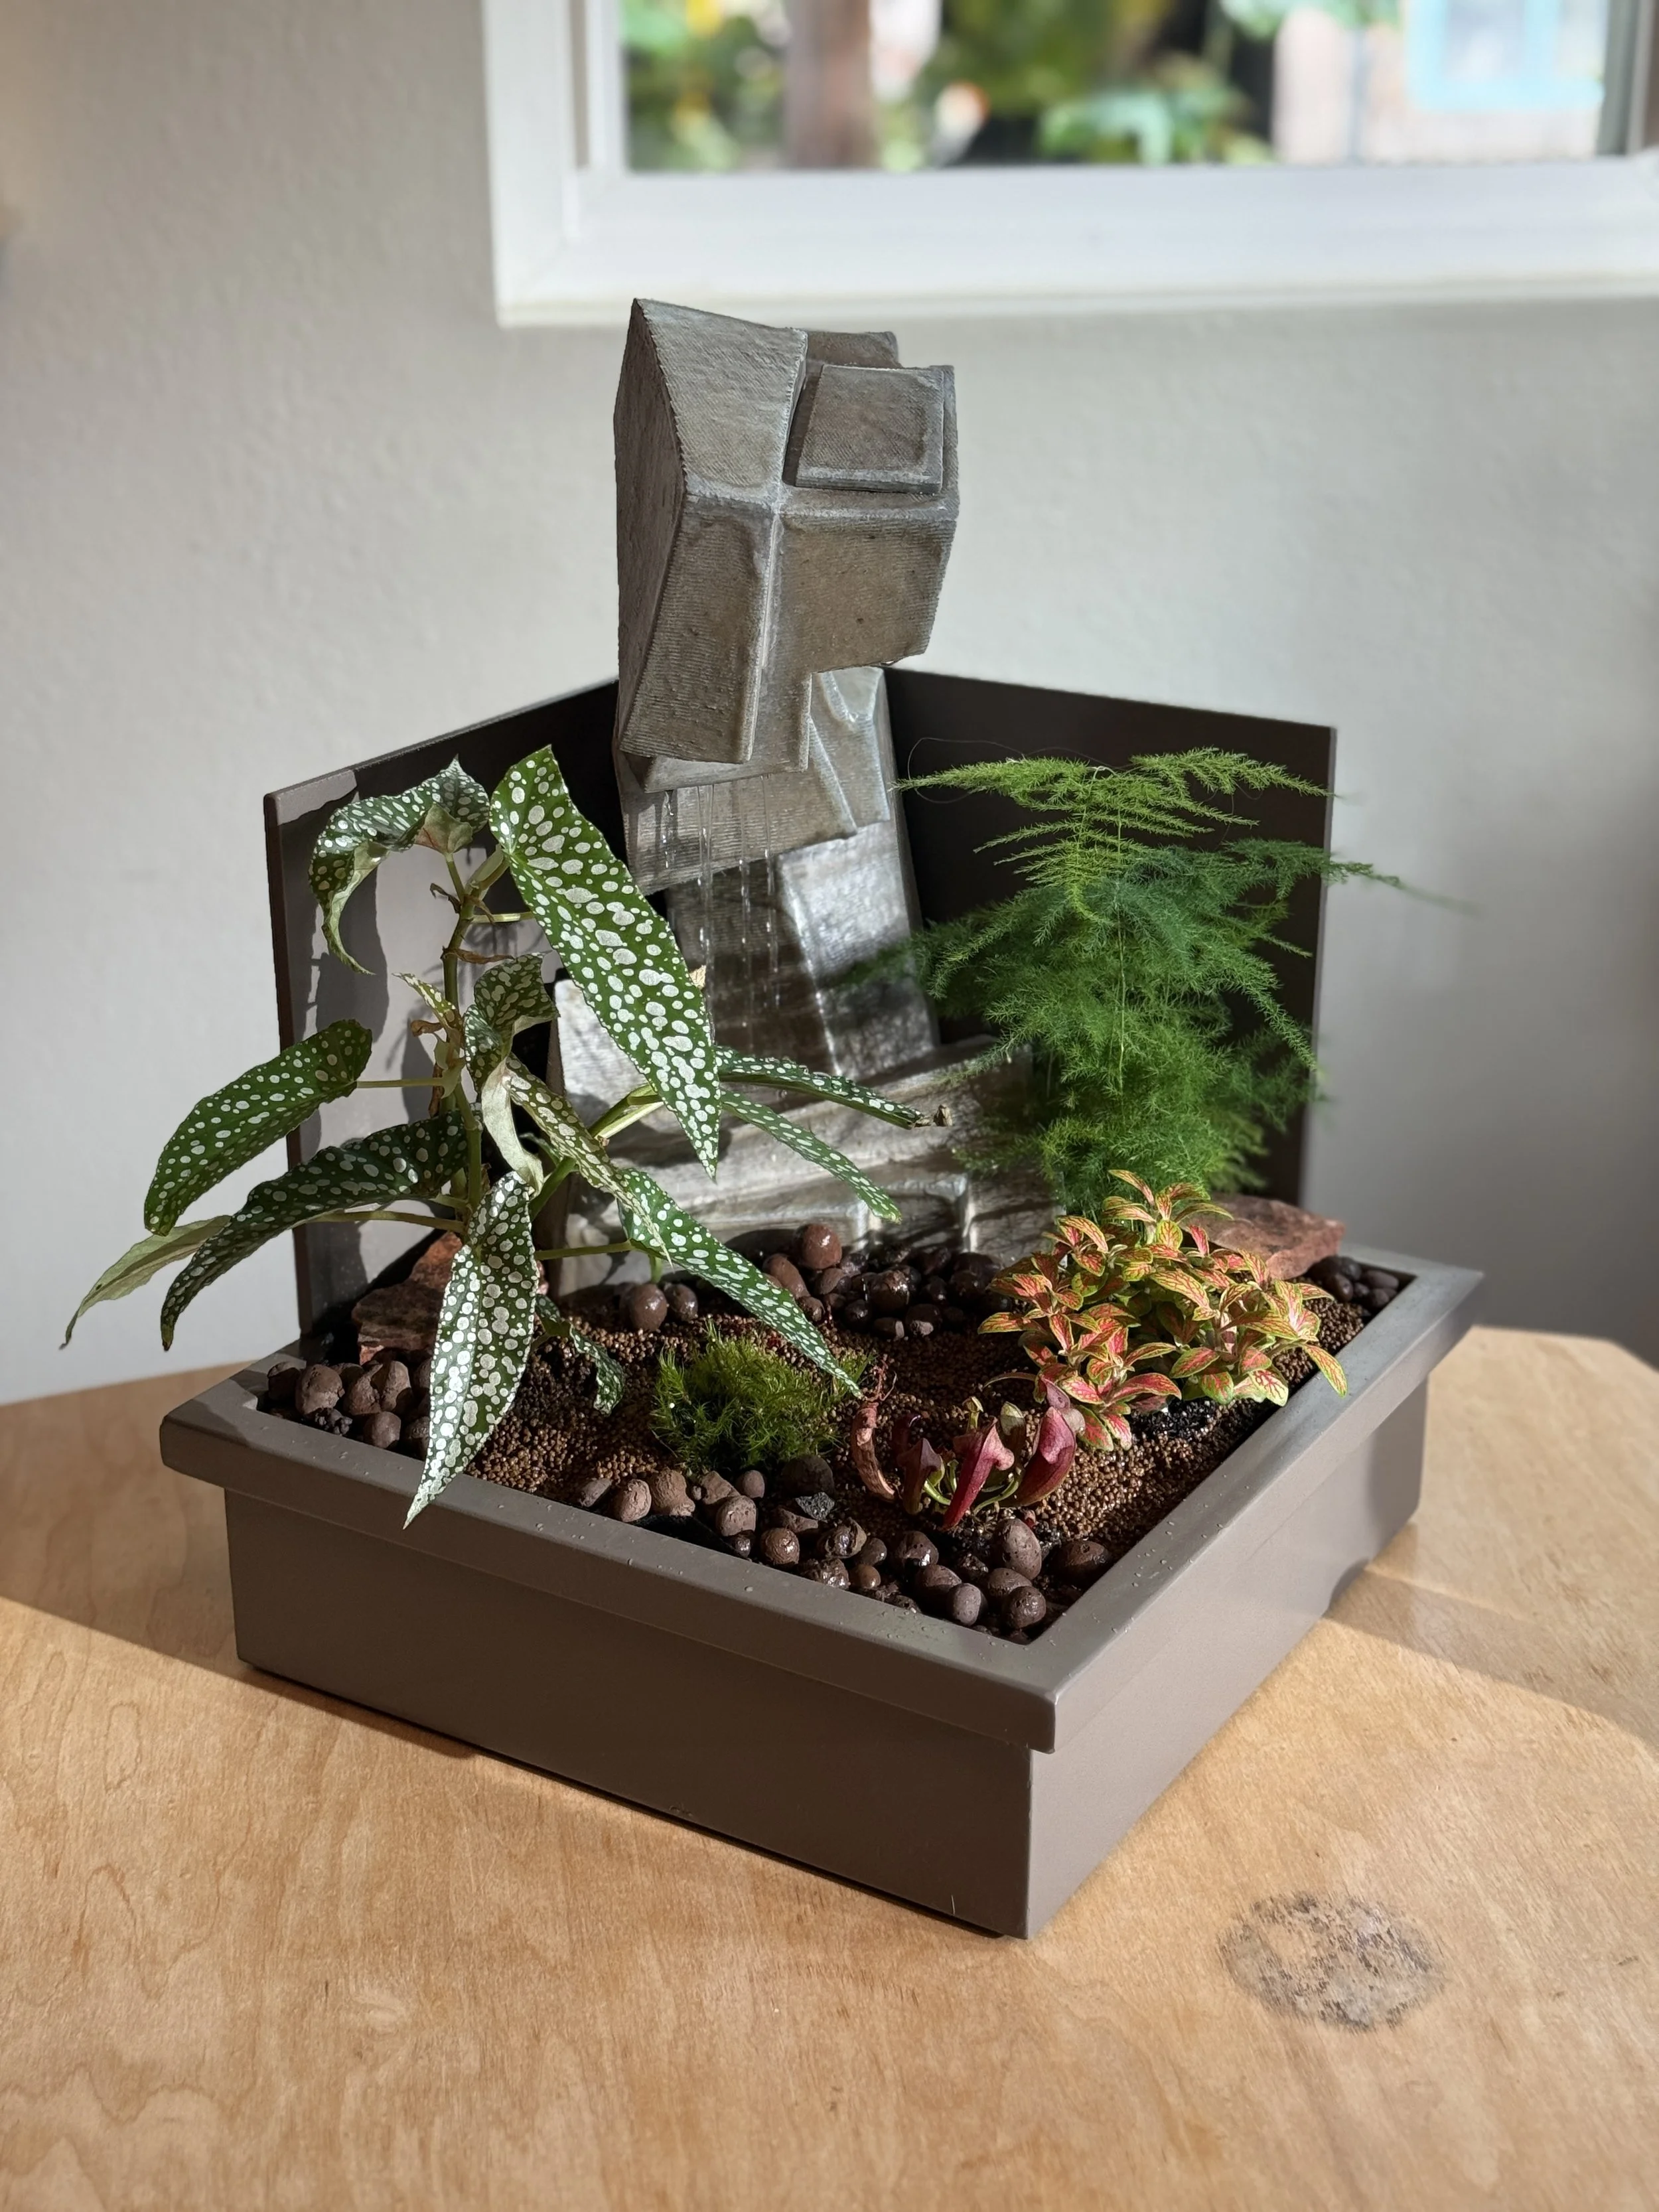
Place the plants as you wish in the fountain. We placed larger plants to the side to help catch the spray from the fountain. Shorter plants were placed in the center front. This helps frame the water droplets falling.
Add the aquarium substrate around the plants. If you need to, you can add a little potting soil right around their roots as well. Once everything is situated, I trimmed bits of the fabric out of view and added a few of the ceramic pebbles as an accent.
Lastly…. Plug in your fountain and enjoy! This is a fun project, and we hope that this small tutorial helps guide you!

Where Many Rivers Meet
“All the water below me came from aboveAll the clouds living in the mountainsgave it to the riverswho gave it to the sea, which was their dying.And so I float on cloud become water,central sea surrounded by white mountains,the water salt, once fresh,cloud fall and stream rush, tree root and tide bankleading to the rivers’ mouthsand the mouths of the rivers sing into the sea,the stories buried in the mountainsgive out into the seaand the sea remembersand sings backfrom the depthswhere nothing is forgotten.”